Do you think that you cannot create a real picture? That for this you need to masterfully draw, understand perspective, geometry and color combinations? Absolutely not, because now eclecticism, individuality and unusual creative solutions are in fashion! Therefore, we offer you 10 ideas for creating paintings that you can definitely cope with yourself!
1. Spectacular geometry
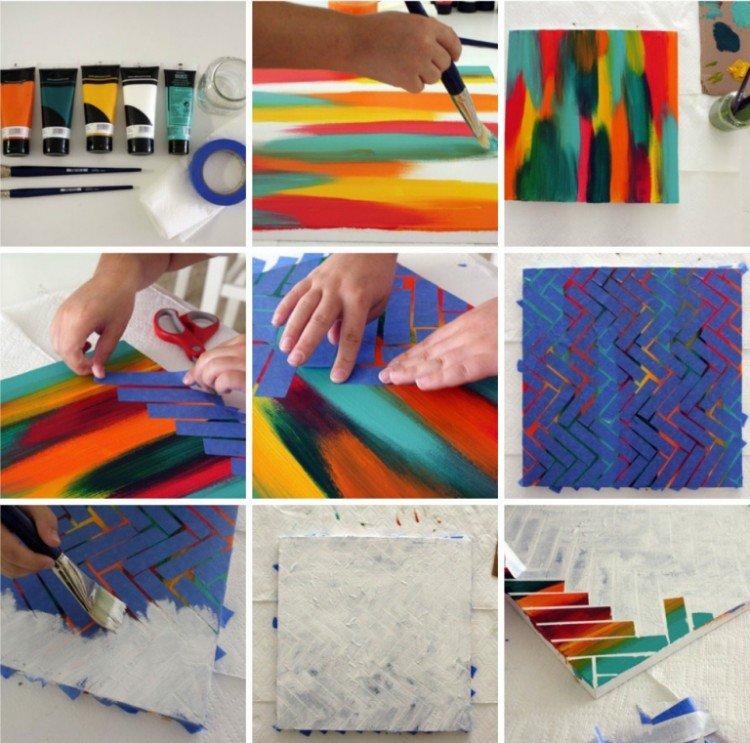
A bright picture with a pronounced geometric ornament will become a stylish accent spot in the interior. The simplest option is a pattern that resembles a classic herringbone parquet. To do this, you will need acrylic paints, a wide brush and electrical tape or masking tape.
Paint the entire canvas with wide, chaotic strokes, leaving no gaps. You can experiment with combinations and color transitions to your taste. When the paint is completely dry, use masking tape to lay out the herringbone and cover the top with a dense white layer using a wide brush or balloon. After drying, it remains to carefully tear off the tape - and the picture is ready!
2. Watercolor stains
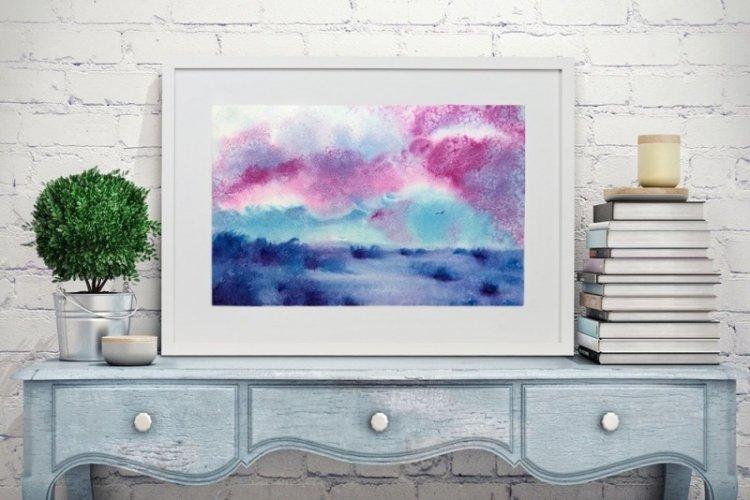
Another simple technique that does not require any artistic skills. All you need is a watercolor set, a glass of water, and special watercolor paper. Gently wipe the leaf with a brush or sponge and let it dry a little. Apply paint with light strokes, drops or splashes - and you will definitely get beautiful transitions and streaks, and not a dirty mess.

3. Painting with waves
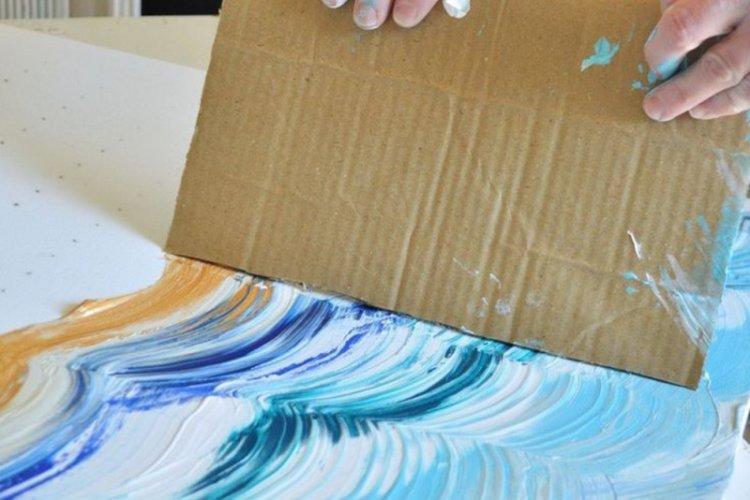
For spectacular textured waves, you will need the same dense and textured paint - acrylic or oil. Apply it to the canvas with a fairly thick layer, like decorative plaster. A spatula, special art tools, or even a sheet of multilayer corrugated cardboard are suitable for creating texture.

4. Paintings through a stencil
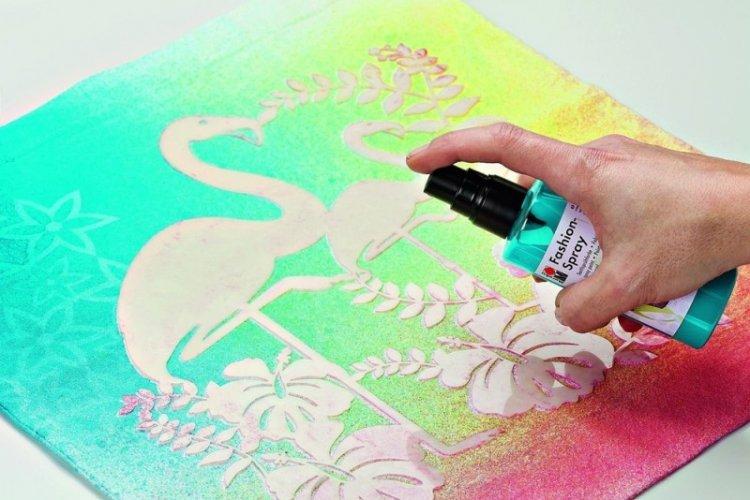
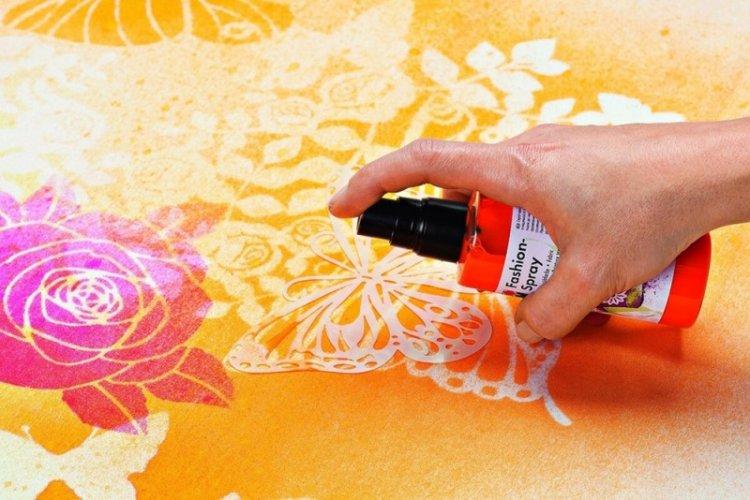
It is very convenient to apply paint from a balloon or using a sponge through a stencil. Take thick cardboard or plywood as a base and immediately cover it with a contrasting base layer. It is also better to make stencils denser, so that they last longer, and they do not get wet from the paint. Silver or gold patterns look interesting, or contrasting matte patterns on a silver or gold background.
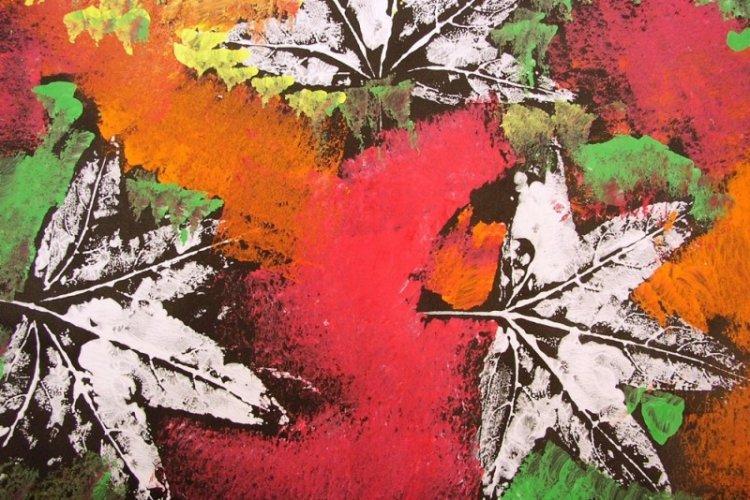
5. Paintings with prints
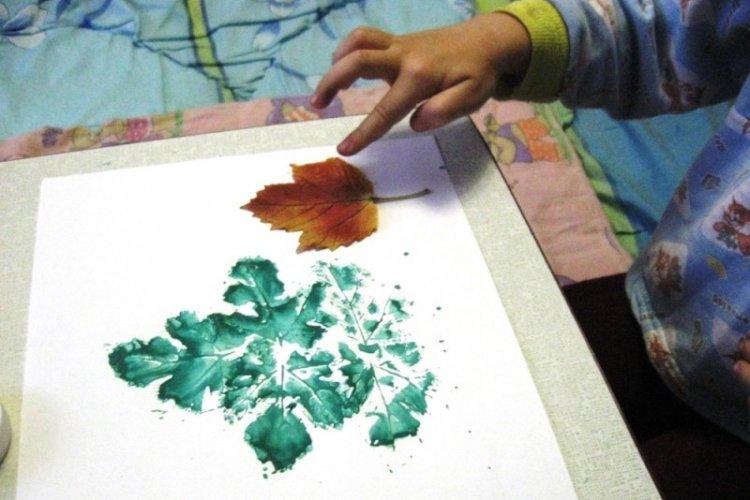
Any item at hand can be used as a stamp or seal to create an original painting. The main thing is that this item is sufficiently flat and textured. Imprints of flowers and leaves look very impressive on paper! In art stores, there are special stamps and moldings for needlework.
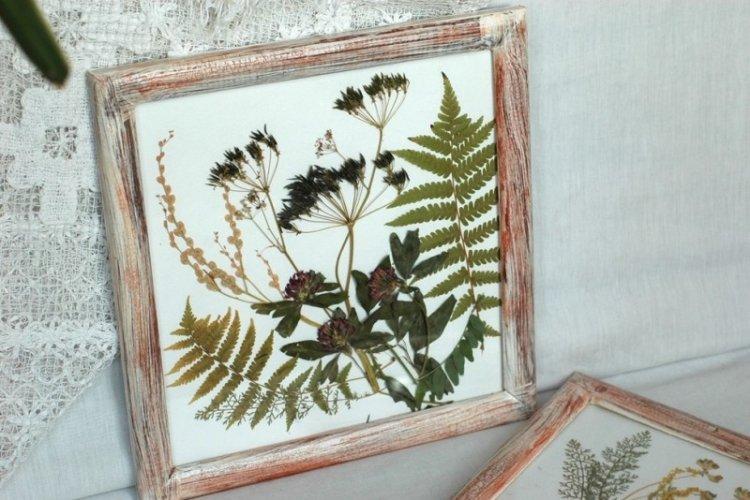
6. Paintings from dried flowers
Dried flowers, leaves, twigs, grass and moss can be used for a full-fledged panel. A good textured base for such work is obtained from corrugated cardboard, from which the top smooth layer has been removed. Use burlap, linen, lace, wooden buttons, sisal rope and other details. Fasten dried flowers on a glue gun, special floristic paste, or simply sew on with decorative stitches.

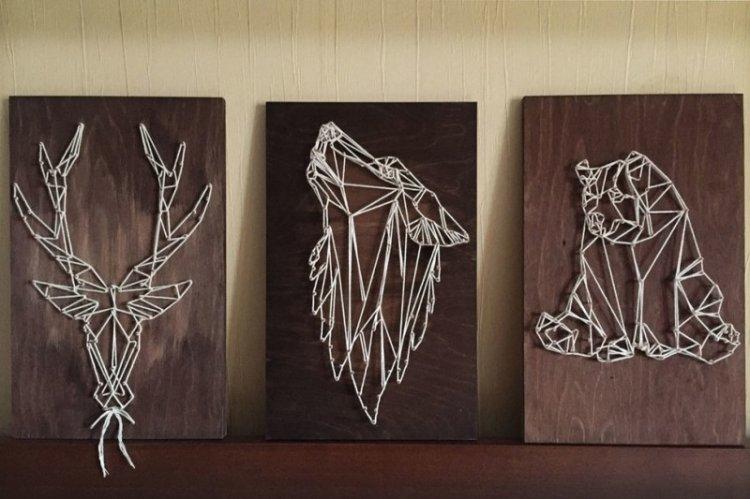
7. Picture of threads
A spectacular three-dimensional picture of threads on a wooden base will perfectly complement any interior based on natural materials. An unusual solution will fit into country, loft and Scandinavian style. In addition to the board and yarn, you will need a package of thin nails, a hammer and the sketch itself.
Transfer the outline of the drawing or ornament to the wood and knock out all the main elements using nails. Start at the edge and braid all the hats one at a time until you get the density you want. Melange threads or a gradient that smoothly transitions from color to color look interesting.
8. Textile paintings
Eco-styles and natural fabrics are in fashion now, so that an ordinary piece of patterned cotton or textured linen can be turned into a real painting.If you have a fabric with an interesting weave or ornament, it doesn't even need to be finished.
It is enough to fit the frame-frame and hang the finished paintings on the walls. Compositions of several canvases of different colors and sizes look interesting, but with some common motive. This decor is especially good in Provence, boho or shabby chic interiors.


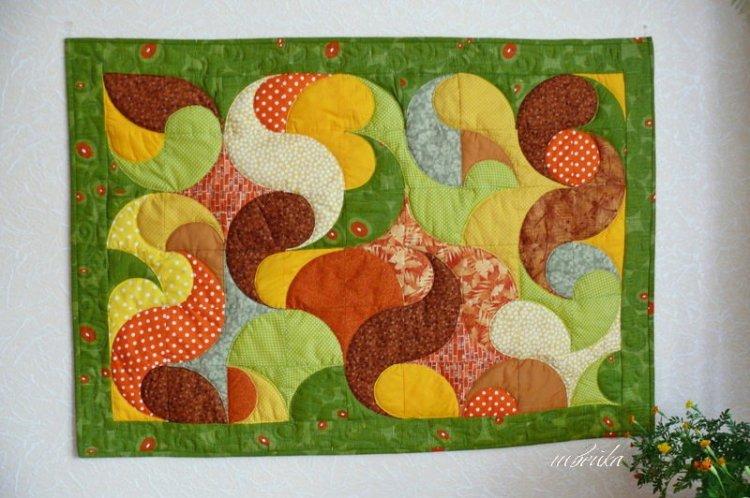
9. Paintings in the style of patchwork
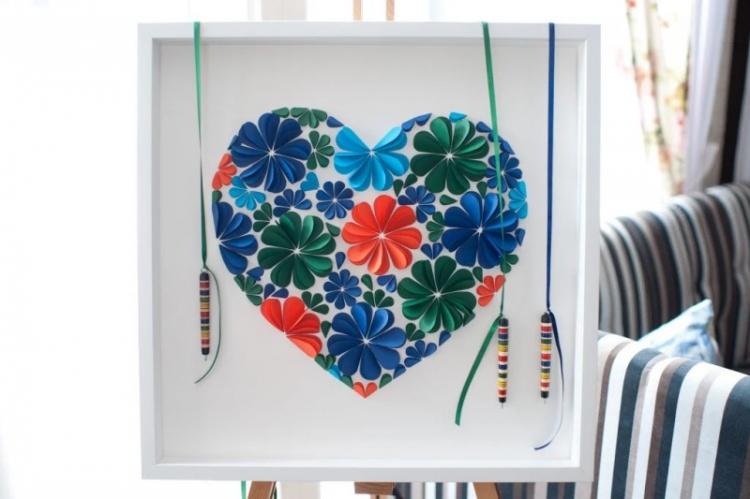
You can make one large patchwork panel from motley scraps of fabric. This technique is very eclectic and effective in itself, so it will complement the same interiors. Severity will give clarity and geometry, and light negligence - a chaotic arrangement of details.
From volumetric textured flannel or felt flaps, the same elements are obtained - convex leaves, petals, fruits, houses. In the children's room, such a picture will become an independent educational toy for the baby. Use braid, cords, lace, ribbons, large buttons and clasps for decoration.
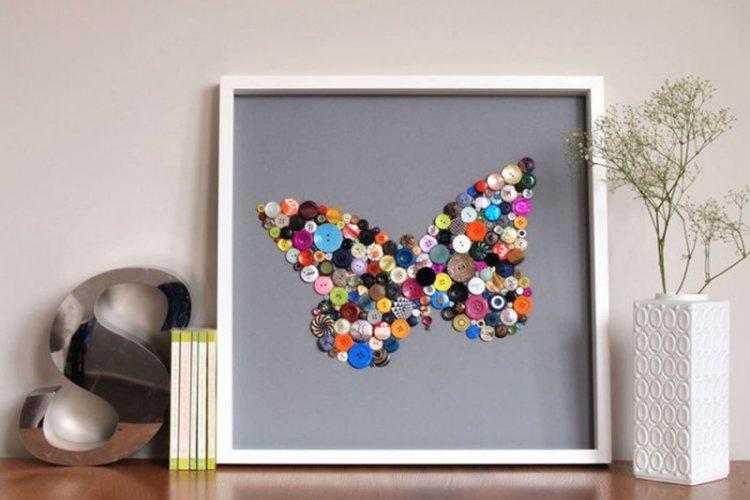
10.Paintings from buttons
If you have old stocks of multi-colored and different-sized buttons, they will make an interesting mosaic picture. Take a solid plywood base, paint it in one color and transfer the contours of the future drawing yourself or through a stencil. Lay out the composition of the buttons to find their location, and then glue them on the glue gun. The picture is ready!
