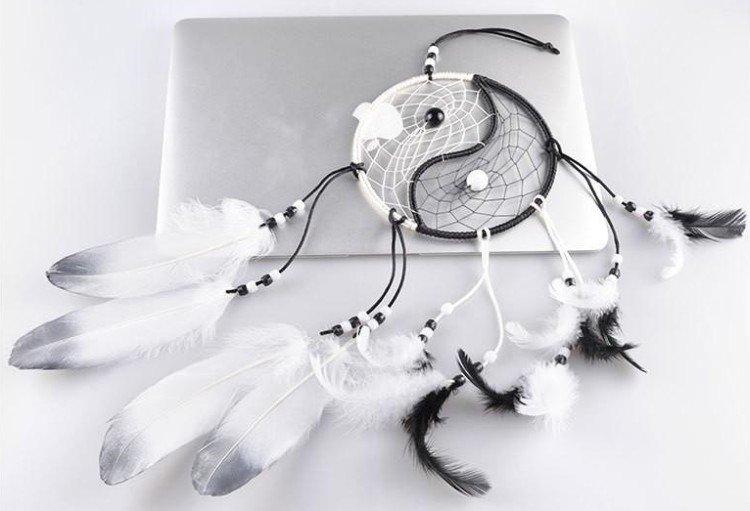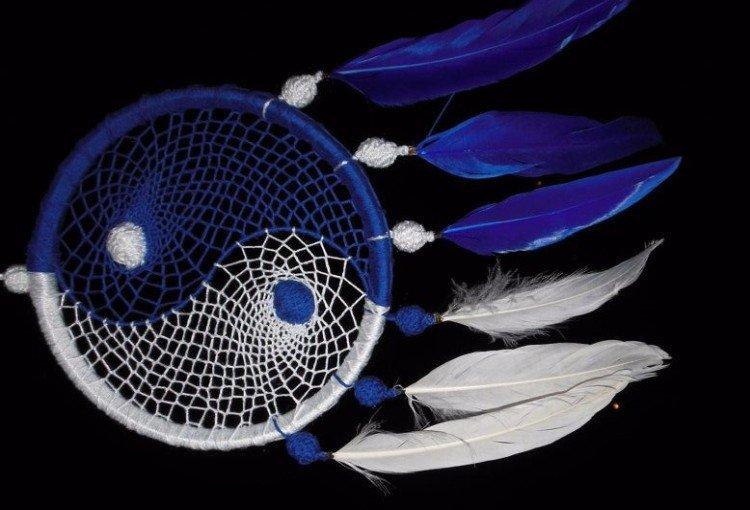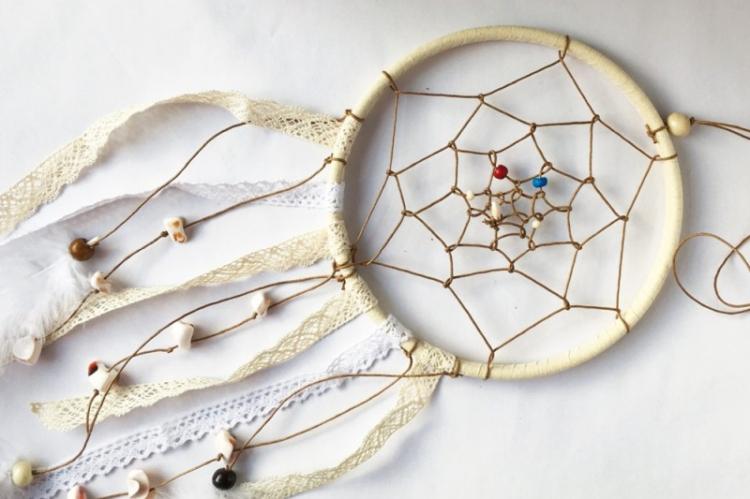
The ancient amulet of the Indians of North America has been so deeply rooted in our lives so long ago that few will remember its original essence and purpose. Indeed, according to legend, the web of a dream catcher delays all dreams and allows exceptionally good ones to a person. It is also a beautiful and effective accessory that you can easily make with your own hands!
1. Classic dream catcher
You will need a wooden hoop or plastic base for the hoop, floss, a large long bead needle and decor. To make the weaving more voluminous and effective, choose threads with silk fibers. For decoration you need feathers, leather cords, volumetric beads, personal talismans and other little things.
There are different techniques for weaving a dream catcher, but the classic spider web is most often used. It is necessary to tighten the free end of the thread with a knot, take it to the side a few centimeters and wind it around the ring. When the row is over, thread the needle through the first loop and tighten in the middle, pulling towards the center.
The second row and all subsequent ones are woven according to the same principle until only a small central hole remains. In the process, put on beads and other jewelry on the string so that later there are no knots and glue left. Cut and hide the end, stretch out the hanging loop and decorate the catcher with feathers and leftover decorations.

2. Dreamcatcher with a star
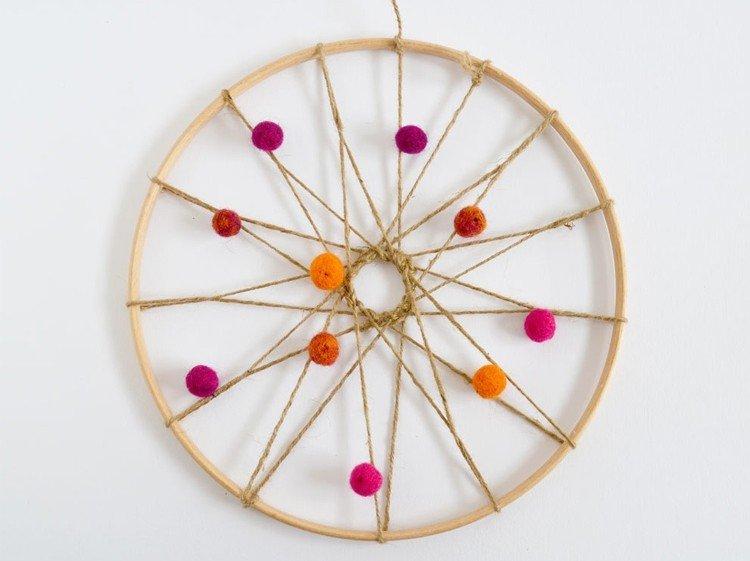
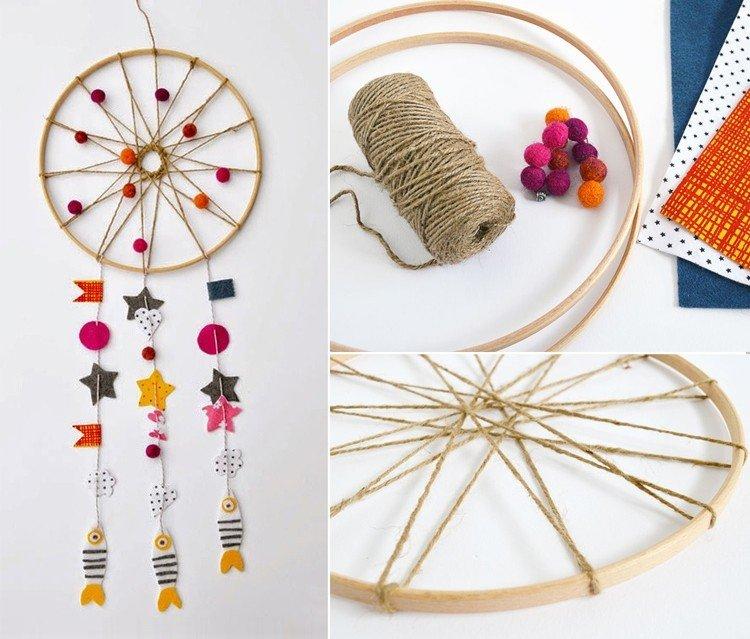
If the classic dream catchers seem too strict to you, then experiment with forms and content. For example, the star inside looks very unusual and at the same time eclectic. And to do it is almost the easiest way - you can even work with a child.
Think of how many rays your star will have, and divide the round base into segments. In this case, they may not be perfectly even - slight negligence gives the jewelry a special charm. Wrap large sweeping beams in one or more threads. Using a needle and another small piece of lace, form the middle, pulling it with loops. Instead of beads, you can decorate your dreamcatcher with small balls of wool, felted toys, or felt figures.

3. Octagonal dream catcher
Dreamcatchers with an eight-pointed center look very interesting, laconic and modern. The technique of making them is similar to weaving a mandala, only on a circle, not on a frame. First, wrap the tree with thread in one row, hiding the end, and mark the circle into eight identical segments - this is the main condition for accurate work.
Anchor the thread at the first vertex, stretch to the second, loop around the ring, and repeat until the circle is complete. Unlike the classic cobweb, the new row does not start from the middle of the segment of the previous one, but from the same first vertex. Spread the threads tightly, for convenience, helping yourself with a bent or just a large needle.
Wrap the first 5-6 rows behind the knot of the first, the next as many - for the second, then - for the third, and so on until the end. If you tighten each loop over the previous one, the joints will not be so tight, and the cobweb will be even. When you get to a rarer weave - again hook it to the first row. It remains to decorate the catcher with beads and pebbles and hang it on the wall by the bed.

4. Dreamcatcher for nursery
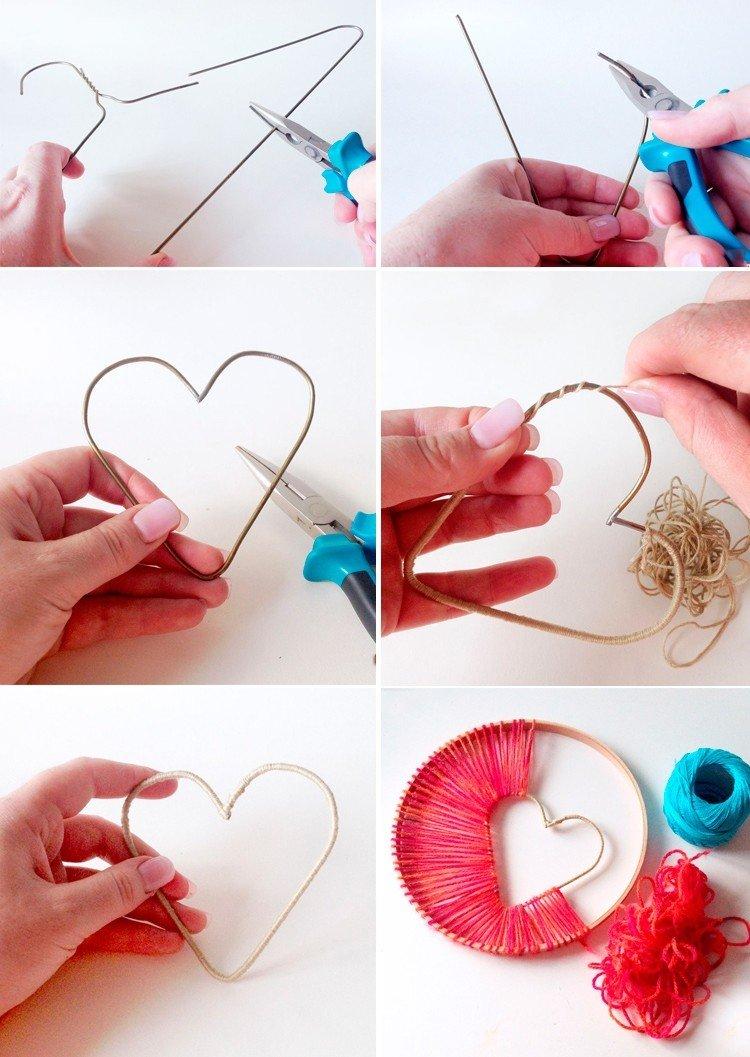
Although traditionally dream catchers were made round and in simple, discreet colors, in the children's room you can certainly give free rein to imagination. For example, make a curly hole, use bright threads, and replace feathers with small pompoms and toys. By the way, you can also take any base - it's just easier to work with a circle.
Roll a heart or any shape of your choice from strong wire and wrap it with thread, like the base. Secure the end of the thread and loop the heart, pulling it tight. Wrap separate fragments for brightness with threads of a different color, thickness and texture.
Instead of classic beading, insert a few beaded strands into the center of the hole. Suitable for decoration are large colored buttons and beads of an unusual shape, bows, figures made of felt, pom-poms, glued figures made of thread, and so on!

5. Buildable cardboard dreamcatcher
To make a large dream catcher with your own hands from segments, cut them out of ordinary thick cardboard - so they will definitely be the same. For strength, glue 2-3 blanks together, so that the result is one strong large ring, one medium and six small ones.
To wind the base, take a larger thread, and wind it tightly - this will further strengthen the cardboard frame. And for a cobweb, it is better to take a thinner thread, especially in small rings, otherwise they will be too massive and coarse. Try not to overtighten anything so that the rings do not deform.
To make decorative tassels, wind the thread around your palm until you get the thickness you want. Tie it in one place, cut on the opposite side and trim the edges. Form the top of the tassel, put on a large bead and hide all the ends of the threads in it. All that remains is to sew and tie all the details together, as in the photographs.

6. Dreamcatcher carousel
It is not at all necessary to make classic catchers and hang them along the wall. A bright and colorful carousel performs the same function, but looks much more unusual. Small and neat ones can be hung on a night light or over a desk, and large ones with the same large decorations can even be hung over a crib.
Wrap a round base with bright threads and weave a web with them. If you want to hang more beads, make the cobweb denser and smaller. And so that the beads do not move in their sections, tie a knot on both sides of them. Tie four suspension strands at the same distance and tie them in a loop at the top.
For decoration, you will need as many decorative threads as the rays of your dream catcher. Play with materials, lengths, all kinds of feathers and pendants. Just do not take too massive and voluminous jewelry, because if there are a lot of them, the catcher will turn out to be too bulky.


7. Dreamcatcher "Owl"
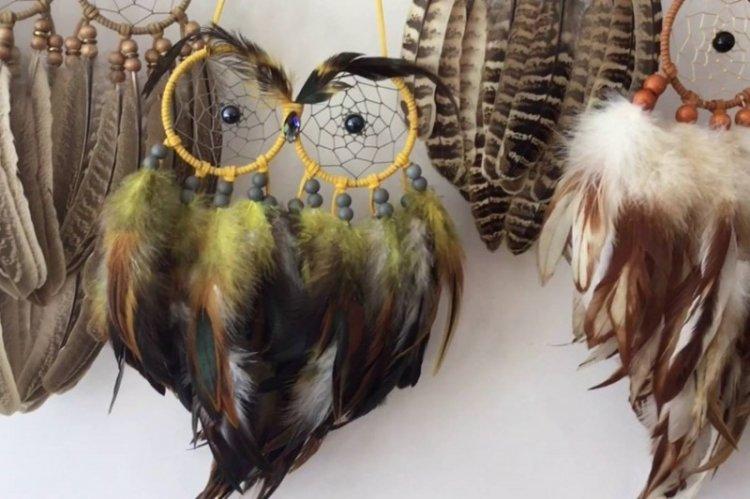
Another interesting and unusual do-it-yourself dream catcher is in the form of an owl. For him you will need one large body ring and two smaller ones for the eyes. And in advance, stock up on feathers - better, natural and the same natural colors. Such an owl is generally especially good in restrained natural tones.
Wrap the rings with a thin sisal rope - it will create an interesting texture. For weaving, take thinner threads of the same color or any suitable color. Or even combine several shades: at the transitions they are connected, and the ends can be glued or hidden in a large bead.
Do not embroider small rings with small jewelry, but insert into the middle along a large bead-pupil. Connect the elements together and tie the suspension cord to your eyes. Tie the threads with feathers as if they were the improvised wings and tail of an owl.

8. Dreamcatcher "Yin-yang"
The main difficulty of such a dream catcher is to make a curly partition in the middle. For it, you need a thick wire, which must be carefully bent and tied at the ends to the base circle. For work, take black and white threads and wind each thread on its own half of the ring, and at the same time on the central bridge.
Start winding the cobweb with a narrow "tail" of each segment. The main part of this dream catcher is knitted in a standard way - in a circle, row by row, and when the rows of the ponytail come closer, instead of the next turn, pull them together. It is better to work with relatively thin threads and a needle so that the narrow part is neat and the mesh is even.
