All those amazing little toys knitted by skilled craftswomen and craftsmen are called amigurumi. This is a Japanese art that has rapidly spread throughout the world and has become very popular. Most often, toys are crocheted, and it can be of any diameter and with any thread. We've prepared several beginner amigurumi schemes that everyone can handle!
Amigurumi knitting basics: ring and ball
Almost all amigurumi figures in one way or another consist of balls - and they always fit according to the same principle. The work begins with the amigurumi ring, the peculiarity of which is that it can be carefully pulled off when you finish the row.
Make a ring from the thread around your finger, thread a hook into it, pull the thread and make an air loop - this is called a slip loop. You need to knit ordinary columns into it (most often 6 or 8) and pull off the thread by the remaining tail. Then this ponytail can be hidden inside or used instead of a marker to track where knitting starts.
For a neat circle, they begin to tie the finished ring with increments: two columns are knitted in one loop. To make a round ball, rather than an elongated body, the number of regular rows in the middle must correspond to the number of rows with increments. The ball ends in the same way as it began, but in decreases: two loops must be knitted together, but only behind the front half loop - so they will be invisible.
Crochet amigurumi toys - schemes for beginners
1. Whale
Teddy bears and bunnies are no longer surprising, but what can you say about a teddy whale? Knitting with thick, voluminous threads is a sheer pleasure for beginners. It is quick and easy, fewer loops are needed, and their texture hides minor flaws well. The body of a whale is a regular base ball, so you just need to remember to insert your eyes in time.

The most interesting place is the transition from body to tail and its end. You will need to fold the edge of the piece, knit over both sides and weave the tail fin in regular rows of air loops and crochets. Both side fins are knitted according to the same principle, and the fountain can be made from any acrylic blue thread.
2. Owlet
From a small big-eyed owlet, you can make a keychain or give it to a cat, and it is also perfect for children's mobiles for a crib. You need regular cotton or acrylic yarn, a small piece of a different color for the beak and eyes. Take two felt circles and special safety eyes from craft stores.

An interesting feature of the owlet is that you will not need to cover the ball with decreases. When you have knitted all the rows, fill the blank with holofiber and knit from above by both sides. This is how you will shape the owl's ears, which can then be separately decorated with small brushes.
3. Bunny amigurumi
You can knit such a beautiful tiny bunny the size of two phalanges in literally an hour. Do not take too thin threads, otherwise the details will be very tiny, and he still needs to tie the legs and ears. But in experiments with thicker threads, you can not deny yourself!

For such a bunny, you first need to tie its elongated body, sew on the eyes, mouth and fill it. To make the ears, make a ring of 6 posts, add a little width, and at the end, do not pull them completely together. For the legs, cast on three air loops, knit 2 single crochets into the second and tighten.
4. Knitted pug
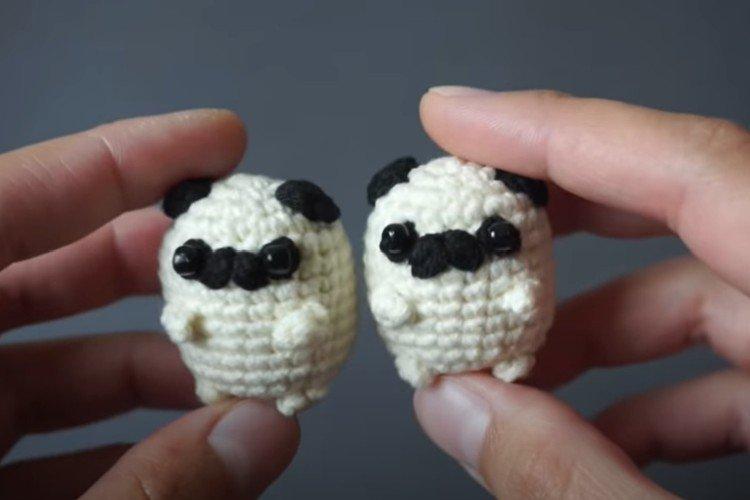
It is simply impossible to pass by such a charming pug - so we could not! You will need beige and black threads for amigurumi (cotton, acrylic or their mixture), and also two small beads for the eyes. Let the small details not scare you, because it takes a few minutes to make and sew them on.

Make a 6-post amigurumi ring body, but do not finish the part completely.Before you start decreasing, embroider the muzzle and sew on the eyes. You can attach the ears and paws at the same stage or at the end - as it is more convenient for you. For them, you need to knit several columns and air loops in a sliding loop.
5. Bear
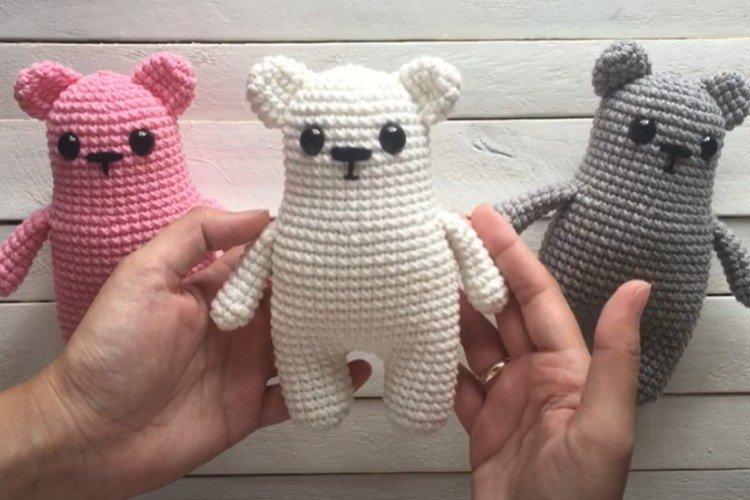
It may seem like this teddy bear is very difficult for beginners, but in reality it is just larger in size. From ordinary yarn for amigurumi, you get a toy slightly larger than the palm of your hand. Such a bear does not have too small parts, so it can even be presented to a baby.

The most interesting part is the body, which is immediately connected to the legs. To do this, first knit two legs and rings for 8 columns and start knitting the torso directly from them. Basically, you just need to tie two pieces in a circle, passing 3 chain stitches between them.
The handles are made from a 5-column ring, on which you need to make increases and continue to knit 10 columns without changes. The ears fit in the same way, but on a ring of 6 columns. They turn out to be shorter, and you will give them a shape when you sew bears to the head.
6. Plush amigurumi mouse
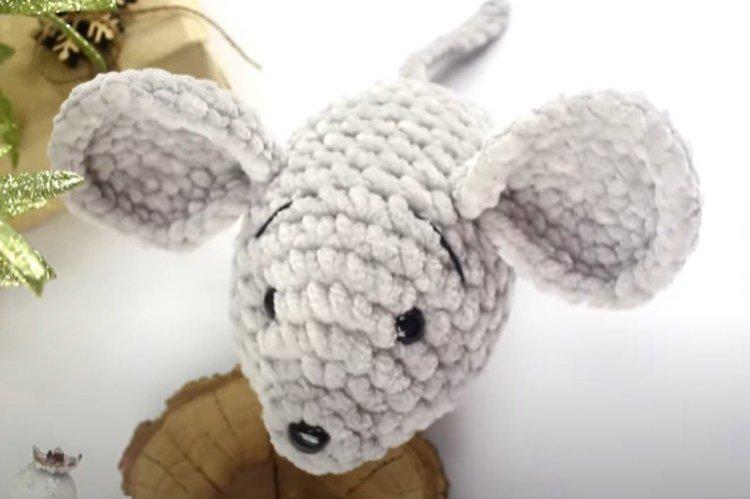
A cute mouse with ears can be knitted from any yarn, for example, from gray plush. So it will be soft, neat and beautiful - it will greatly delight young children. The body is knitted from the usual amigurumi rings, but carefully watch the increases and decreases when you make a fragment from nose to muzzle.

Tie the tail from a ring by 5 columns and vary its length according to the size of your mouse. To make the ears so voluminous and convex, they also knit like a ball and then fold in half. The most important thing is that when you fill the mouse, fill its muzzle very tightly and tightly. For the nose to be expressive, it needs to be shaped by hand.

