Any, even the most durable and expensive furniture, wears out over time and loses its aesthetic appeal. Quite often, it is a pity to throw such a thing away, especially if fond memories are associated with it. We invite you to see 14 easy, but very beautiful ideas - how to decorate an old table with your own hands to breathe new life into it!
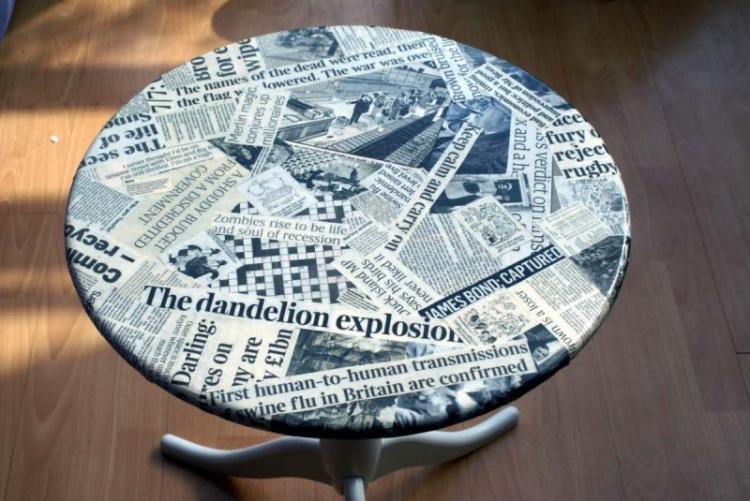
1. Decoupage
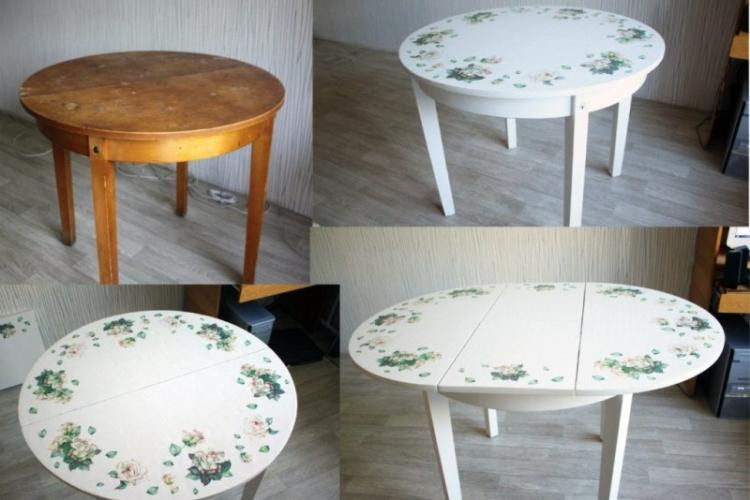
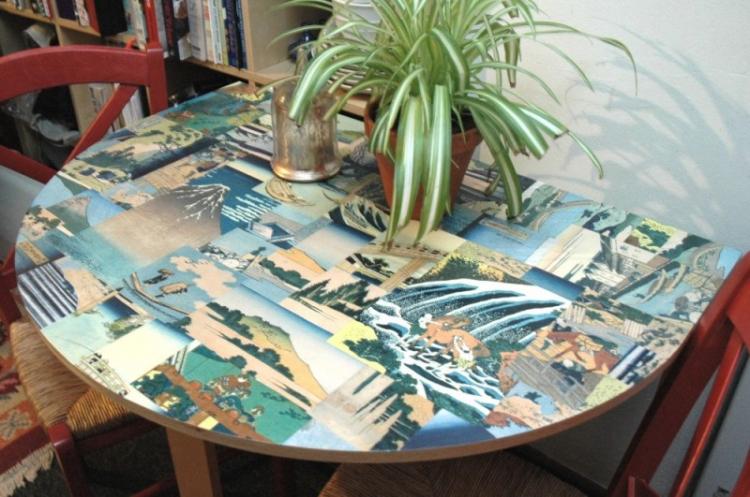
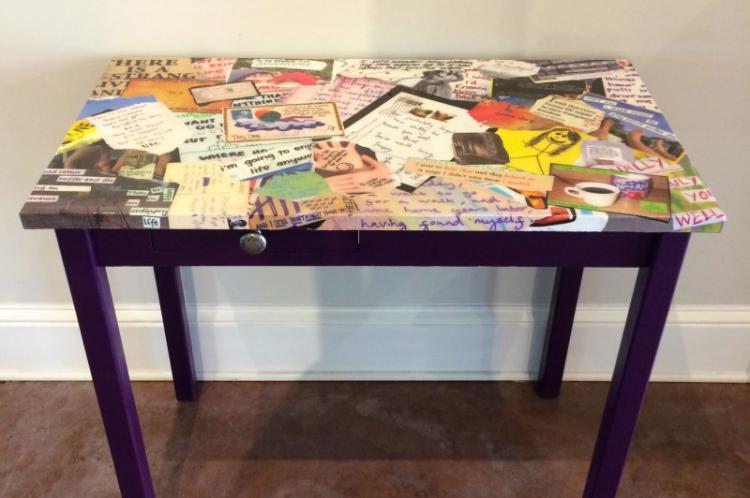
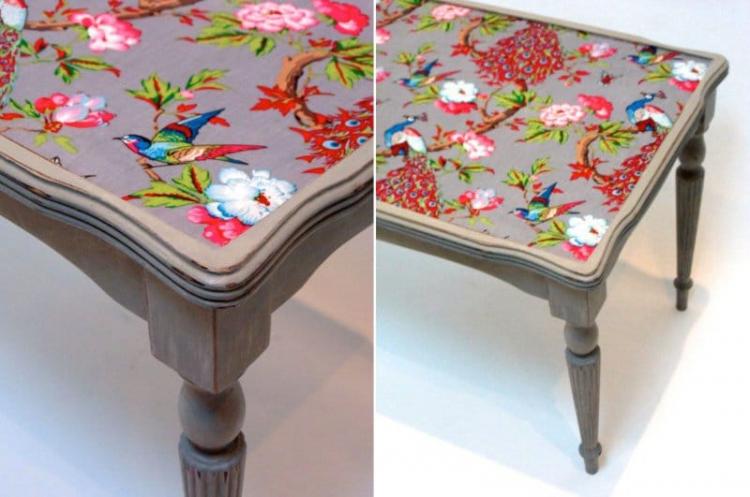
The simplest but great idea is the decoupage technique. To do this, you need to purchase napkins with drawings that will match the interior design. Multi-layer napkins need to be separated to keep the material as thin as possible.
The surface of the table, if it is wooden, needs to be cleaned, sanded and made absolutely smooth. If the table is metal, it should be washed and degreased. Next, paint the surface with acrylic paint.
The drawing is applied quite simply: we grease the tabletop with PVA glue, apply a napkin and smooth it out, expelling the formed air bubbles. After finishing work, the table should dry well, then apply a protective layer of varnish, which will prolong the service life for a long time.
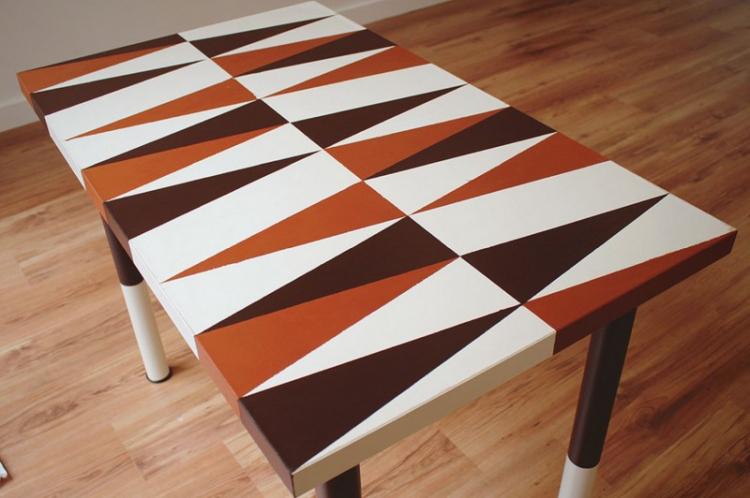
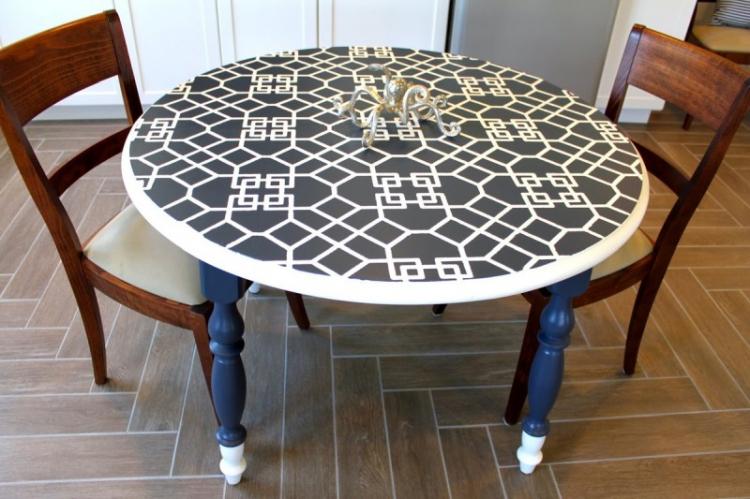
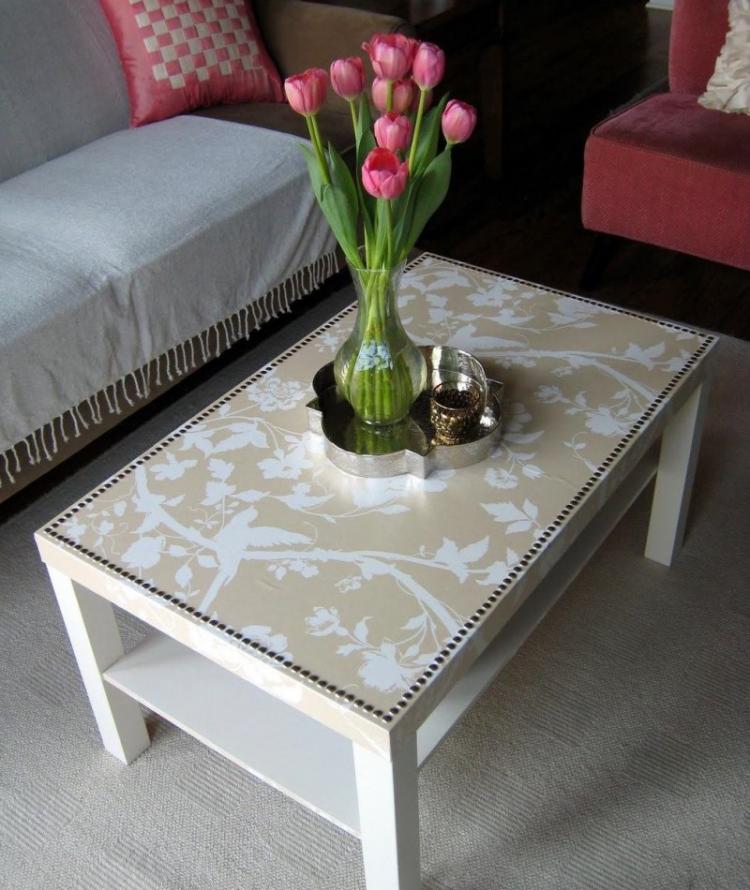
2. Paint and stencils
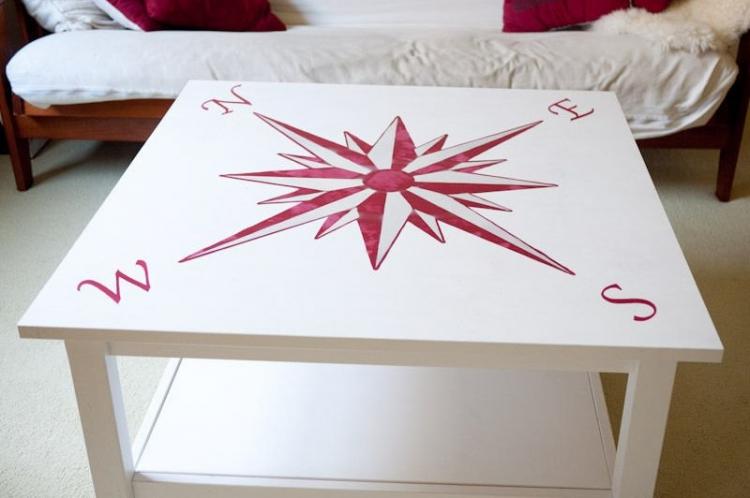
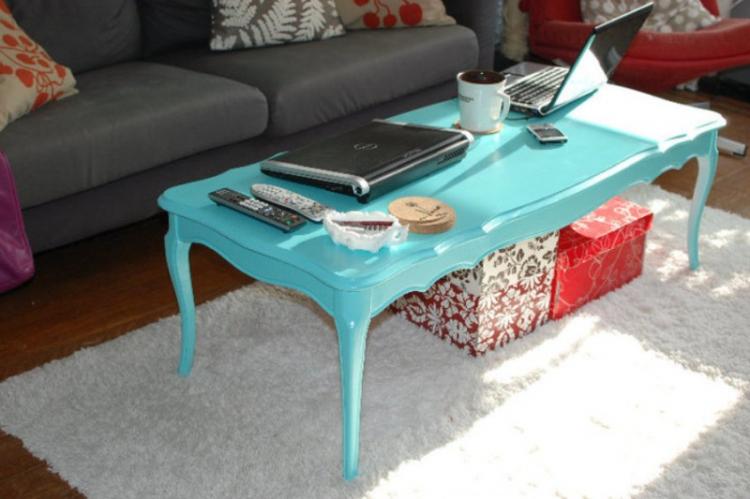
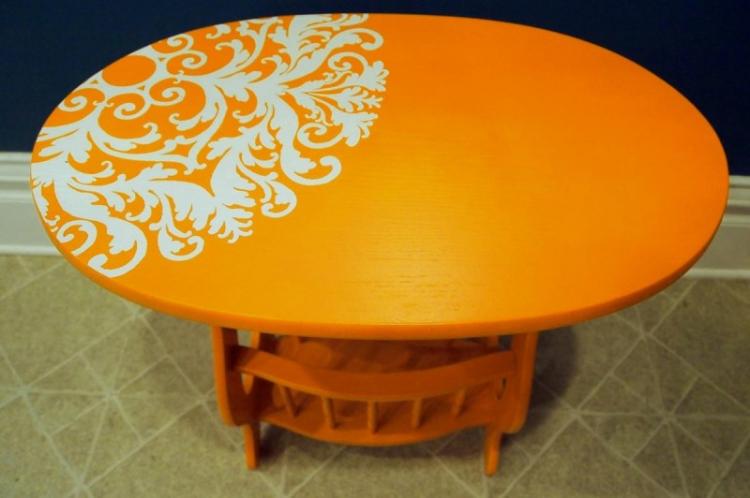
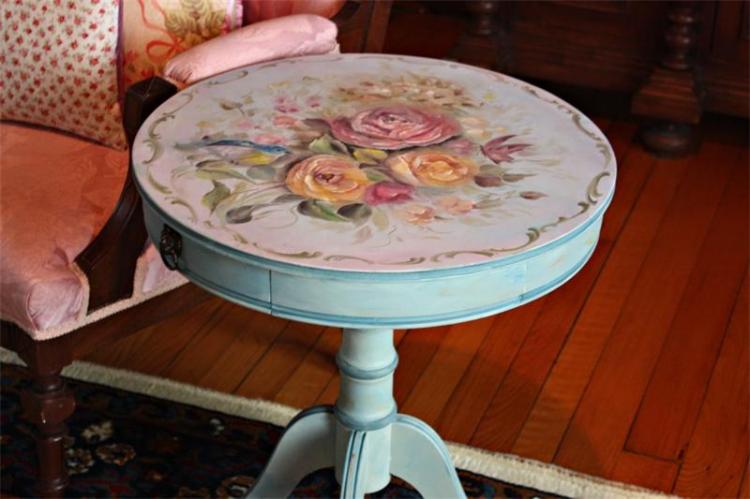
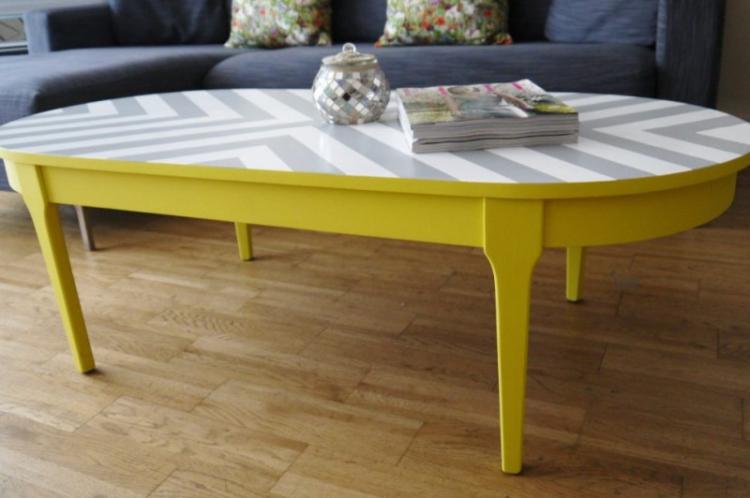
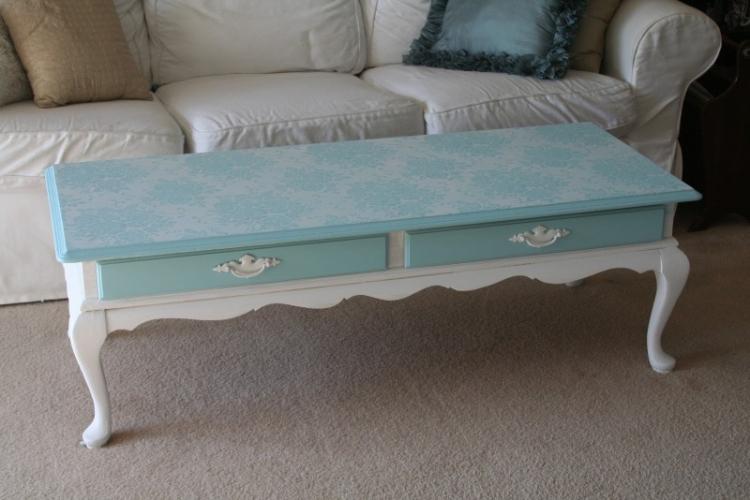
With the help of paints, you can completely restore the old table, including the legs, which are often frayed. If you are good with a brush, the work will be simplified - it will not be difficult for you to depict the desired drawing or pattern. If you have problems with drawing, use stencils, which are not difficult to buy in creative stores.
First, the table must be thoroughly cleaned, painted with background paint and wait until it is completely dry. Now you need to mark where the patterns will be located, you can also apply a light pencil sketch. Next, take stencils and apply images to your taste. When the decorated table is dry, open it with a varnish-protective layer.
Another original solution for do-it-yourself decor - use a regular patterned tulle instead of a stencil: cover the tabletop with it, apply paint and then carefully remove it. You will get an original openwork table!
3. Craquelure
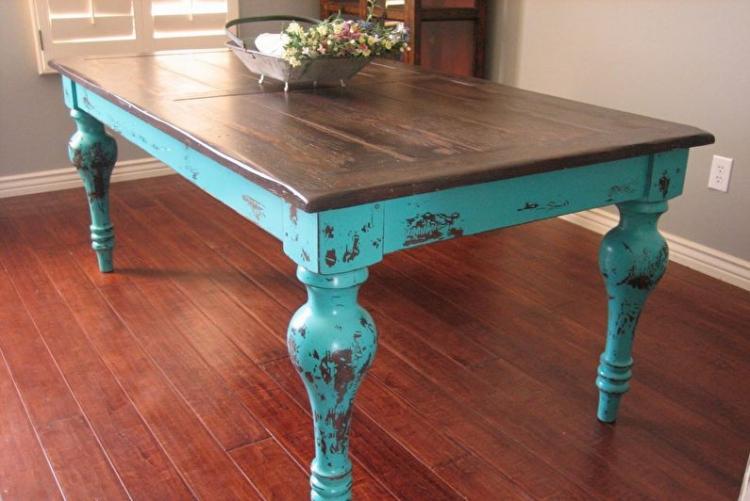
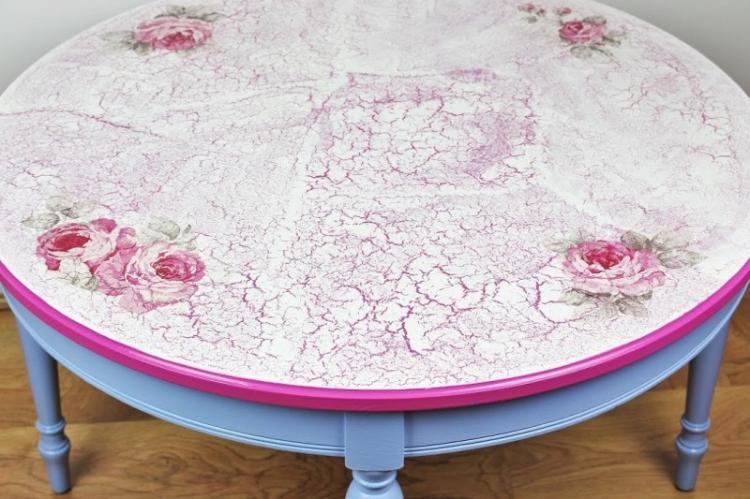
If you want to give your table the look of an antique canvas, you should pay attention to a special cracking varnish - craquelure. It is of two types: one-step and two-step.
One-step craquelure is used to add a vintage touch to plain-color countertops without patterns. The varnish is applied in one layer and, when dried, creates a "mesh" of cracks.
Two-step varnish helps to create a stunning effect of aged painting. Therefore, it must be used for a table surface with a pattern or made using decoupage technique. In this case, two mixtures are used, which are applied one after the other. The desired effect is manifested when they interact.
4. Self-adhesive film
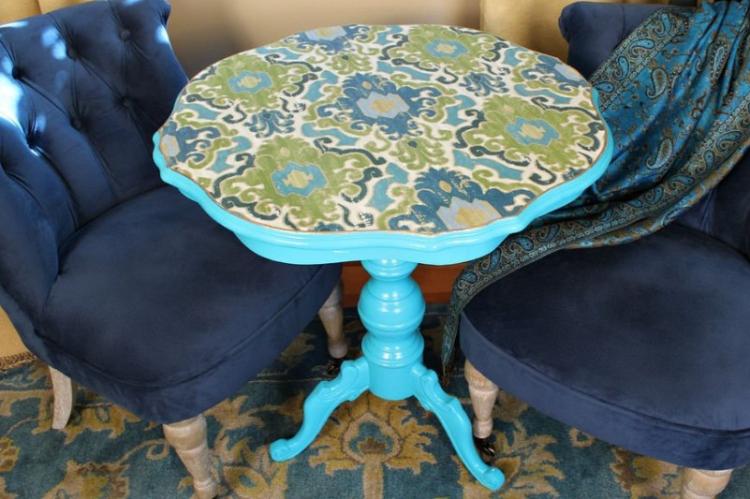
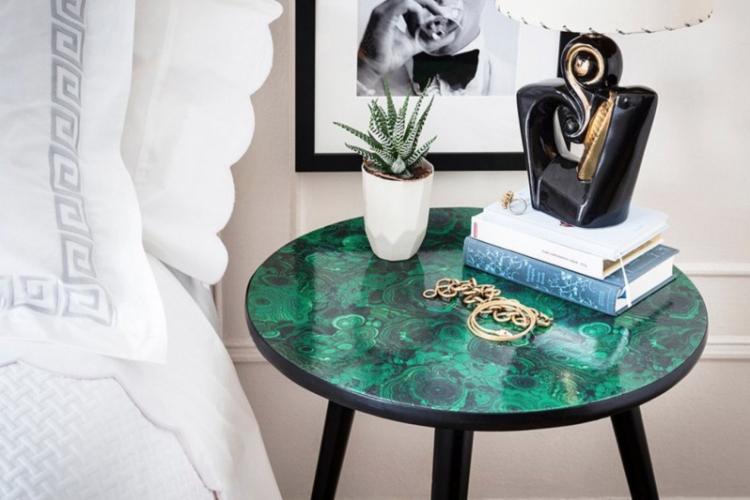
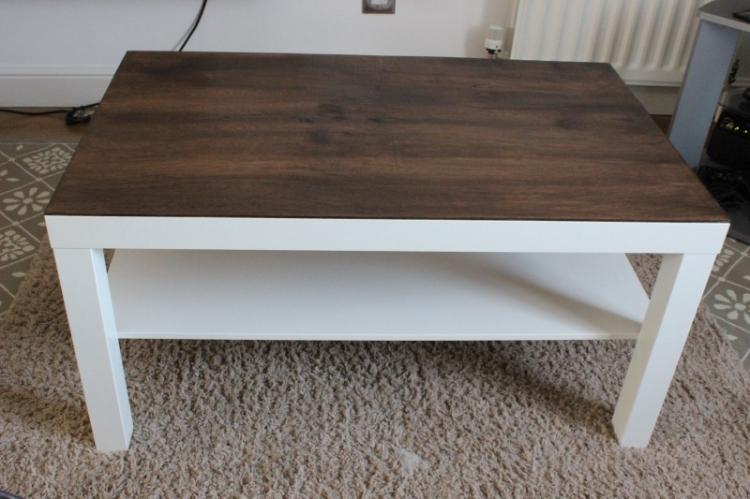
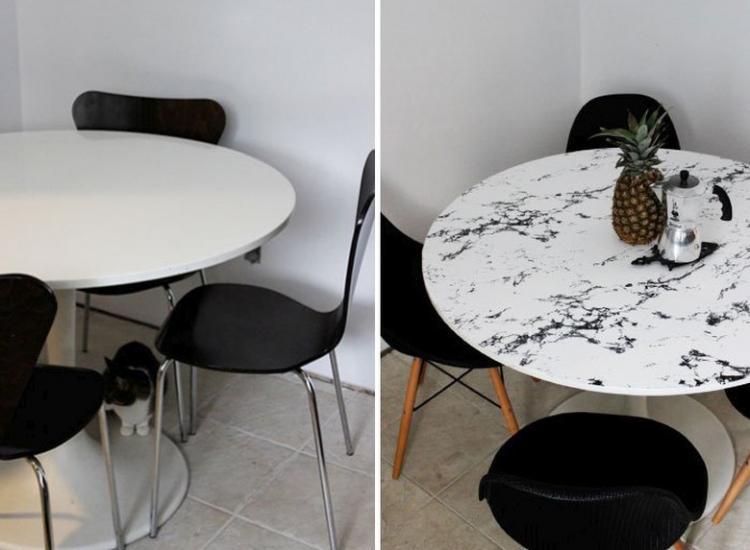
Another great solution is to decorate the old table with self-adhesive film. Moreover, the modern market has a huge assortment of it - from simple monochromatic to mirror, luminous and imitating natural textures.
To properly cut the film, you need to use the centimeter markings located on the back of it. It is important to thoroughly clean the surface of the table, as the self-adhesive will instantly reflect all the flaws.
Glue the film slowly, pressing firmly and at the same time smoothing it with a soft towel so that no air bubbles form.
5. Ceramic tiles
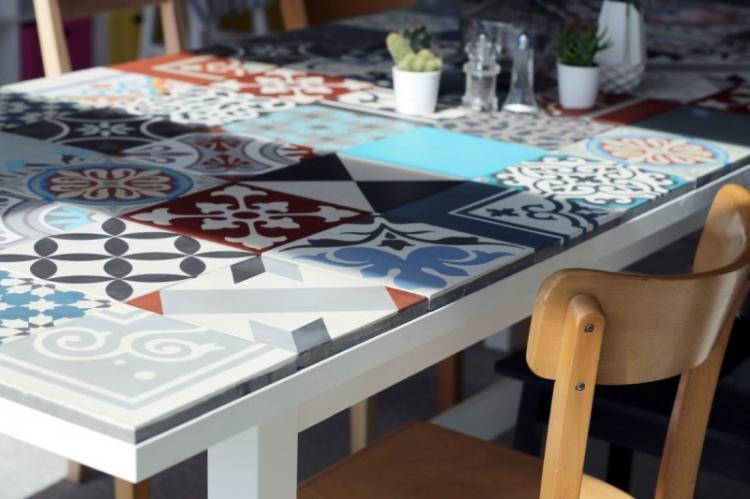
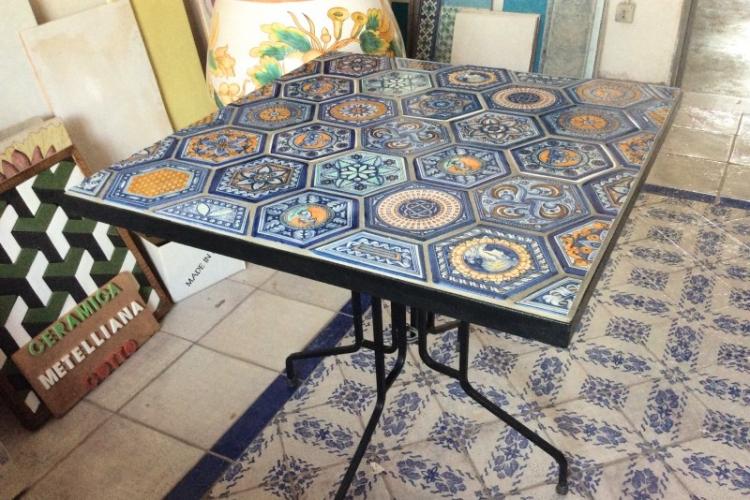
At the end of the repair, surplus tiles often remain in the kitchen or bathroom, which can be safely used to decorate the table. In this way, you can beautifully decorate an old dining table in the kitchen or on an open terrace.
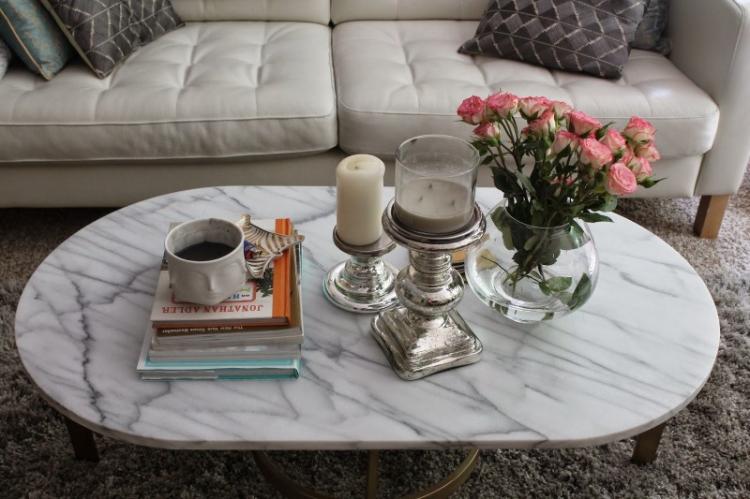
Patchwork tiles look great, as well as decorative tile panels, borders with patterns.No less spectacular will be a countertop made of tiles that imitate stone or expensive wood.
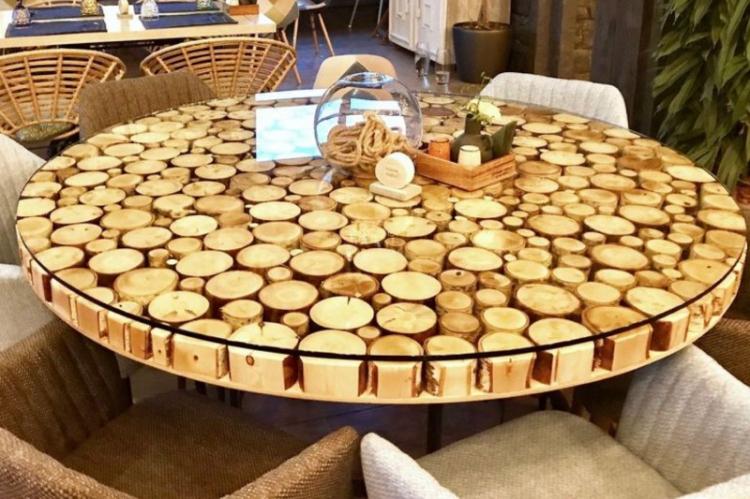
6. Decor under glass
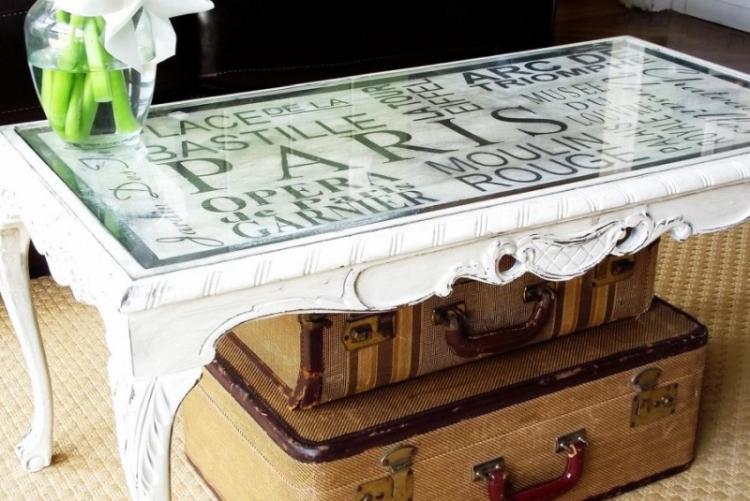
Decorating an old table in the following way will take a lot of work, but the result will be worth the effort!
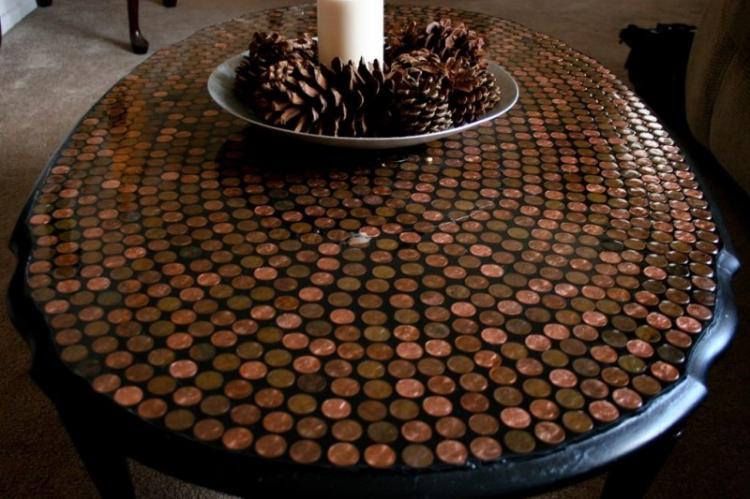
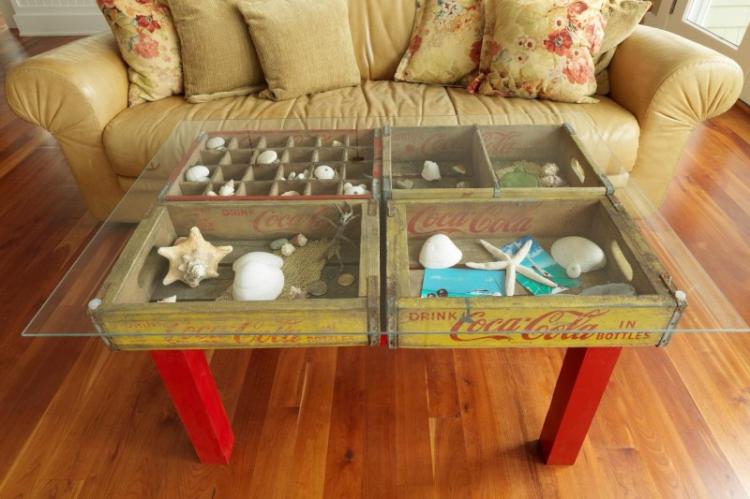
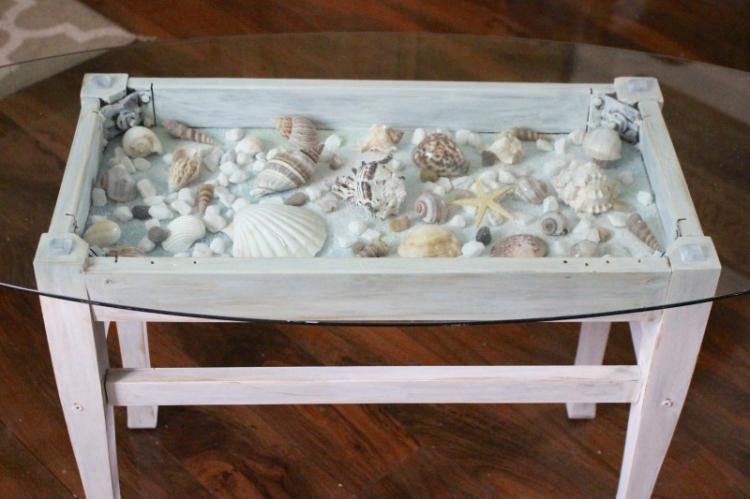
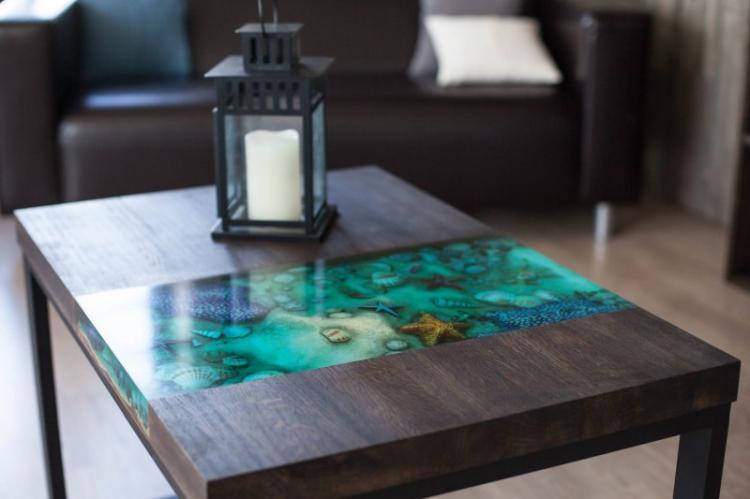
If the wooden countertop is thick, cut out a recess inside and fill it with themed decor. You can, for example, decorate the seabed - by laying shells, pebbles, sand, artificial seaweed or even colorful Christmas tree decorations for the Christmas holidays. In conclusion, the finished "filling" must be covered with transparent glass.
If the tabletop is thin, just beat the beams around the edges and paint them in the same color as the table, then lay the decor and also cover with a glass cloth.
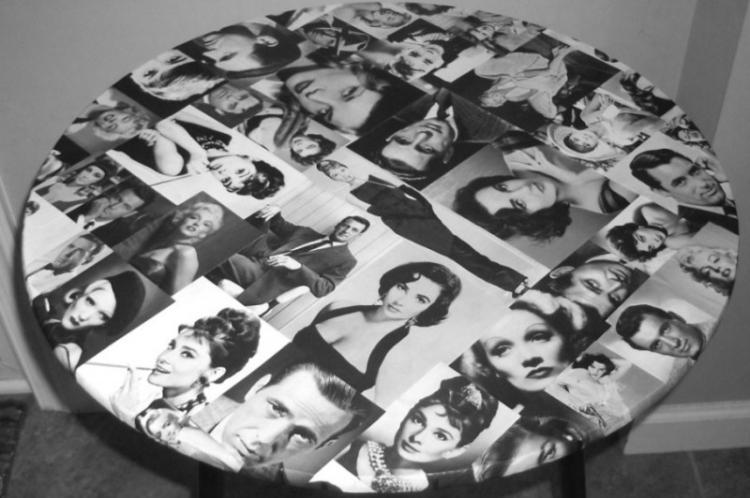
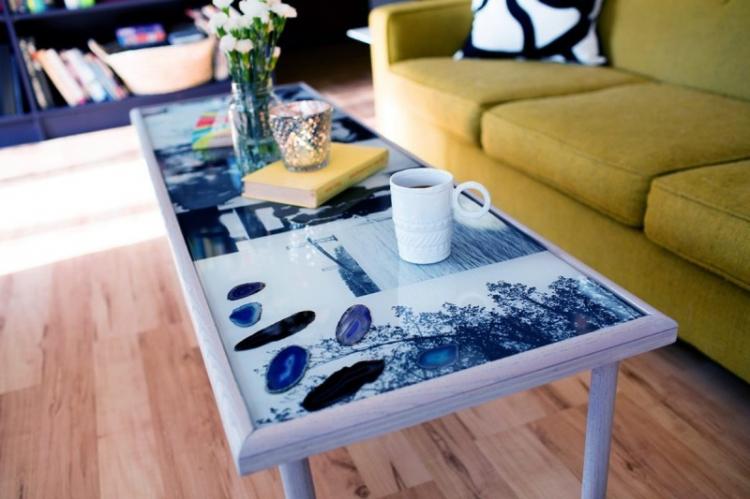
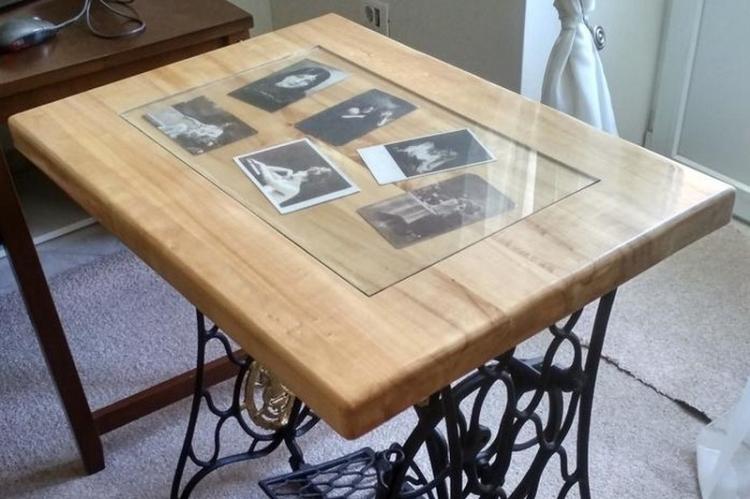
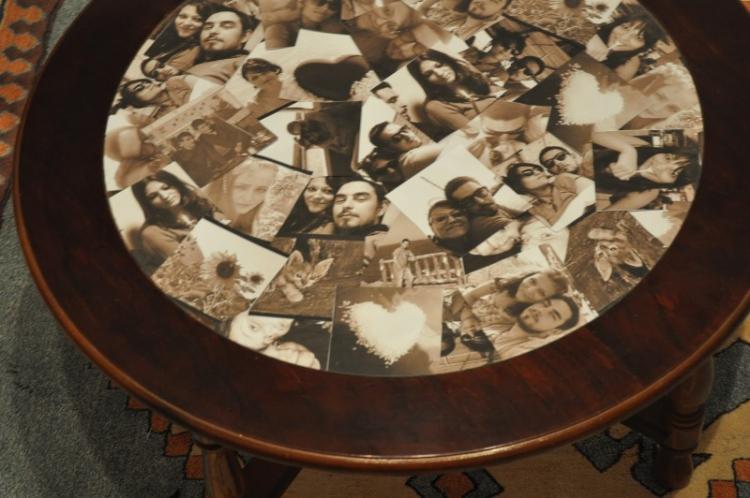
7. Photo collage
Pick the best family photos, lay them out on the table and cover them with transparent glass. Such a photo collage will remind you of pleasant events in your life during a meal or tea.
If you wish, you can change the selection of photos, add new interesting pictures. Pay attention to the glass - the edges should be sanded to avoid cuts.
8. Epoxy resin
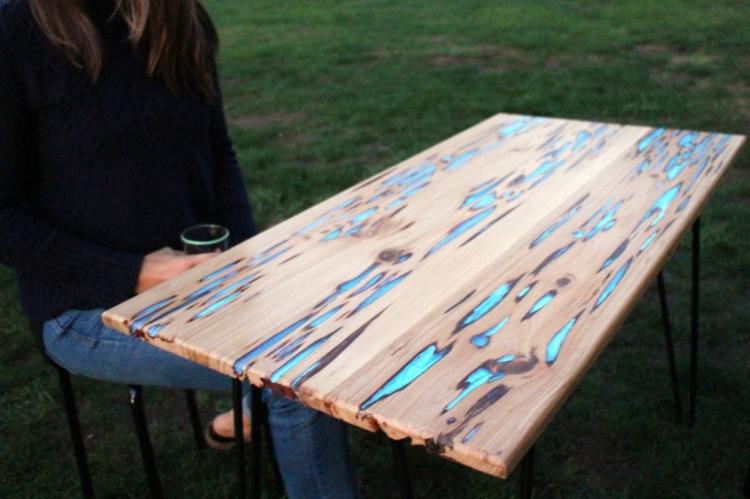
The main secret of epoxy is that it hardens quickly when outdoors, creating the effect of an icy or amber surface.
If your old table has deep cracks, fill them with resin - the view will be amazing! You can also add some decorations to the composition, for example - seashells or sea pebbles.
Sophisticated creatives sometimes go even further - they introduce luminescent powder into the liquid resin composition. What do you think happens? That's right, an incredible luminous surface!
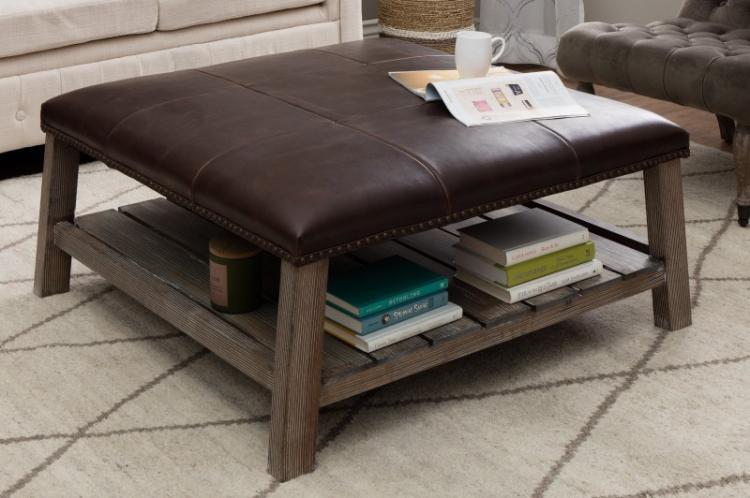
9. Covering with leather or dermantine
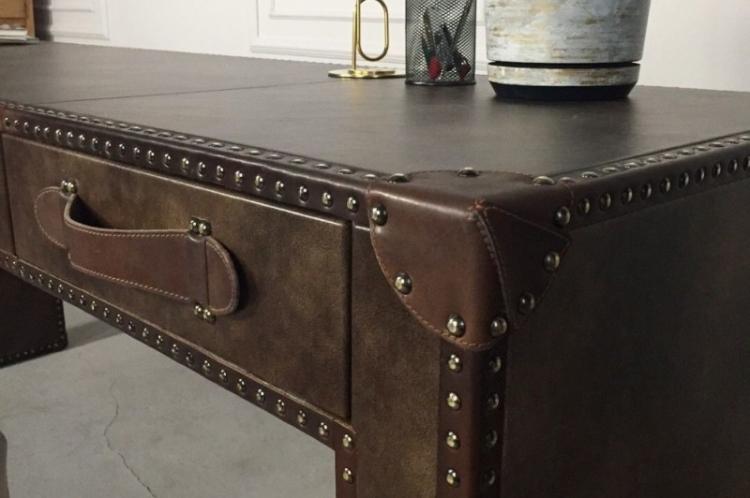
You can breathe a second life into an old coffee table, while making it amazingly original, using ordinary leather or dermantin. Choose a material with a large embossing, for example - under the crocodile skin or a bright gold, which will certainly attract the eye.
With a piece of dermantine, completely cover the top plane of the tabletop. The material should be pressed firmly and smoothed, getting rid of air bubbles. The final touch will be the upholstery of the sides of the table with studs with a wide head, which will be similar in color to leatherette.
10. Twisted rope
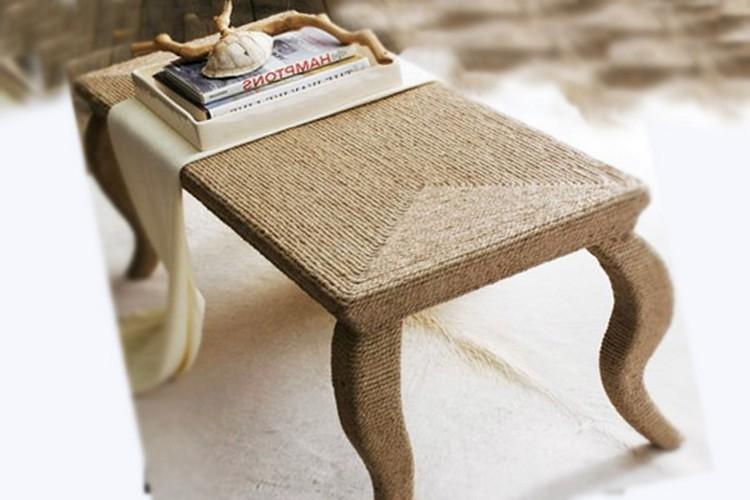
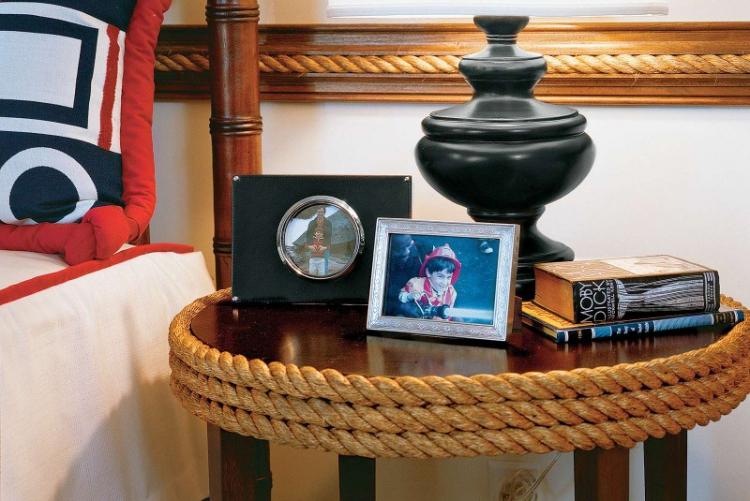
This way of decorating an old countertop is great for a round table. You will need any dense rope made of natural fabric (hemp, jute) and a glue gun.
Fix one end of the rope with glue in the center of the tabletop. Then, wetting the rope with glue, move in a circle, winding circles around the center. Each next row should fit snugly against the previous one.
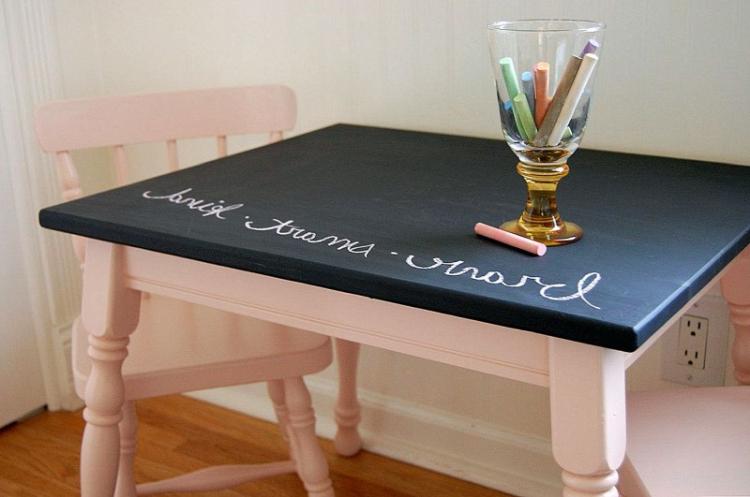
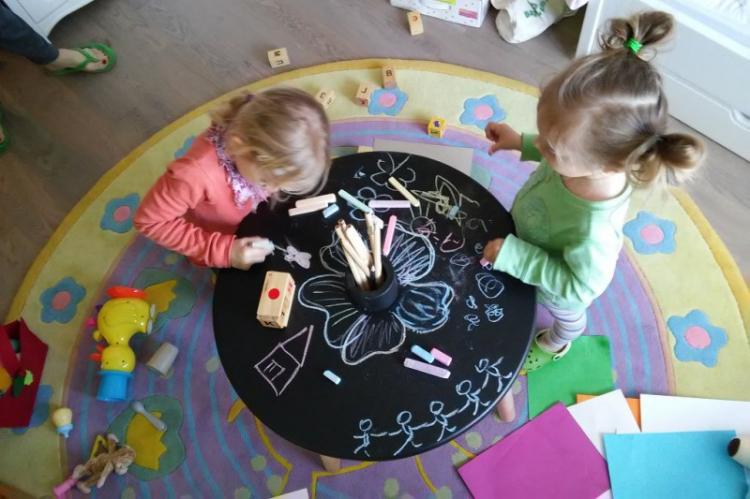
11. Blackboard paint
The beauty of this wonderful coloring composition is that it creates a surface on which you can draw with crayons. Such table decoration can save your wallpaper and other furniture when a little artist wakes up in a child.
Another secret is to apply a thin layer (2-3 mm) of magnetic primer before covering the table with blackboard paint. Sticky magnets will make your child even more happy.
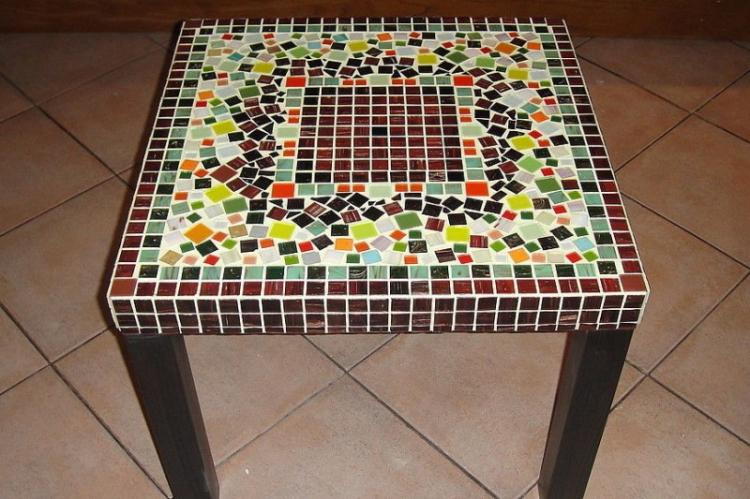
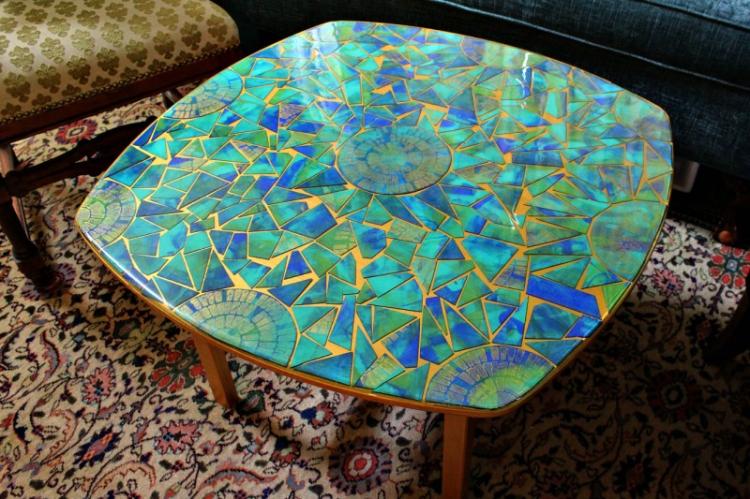
12. Mosaic
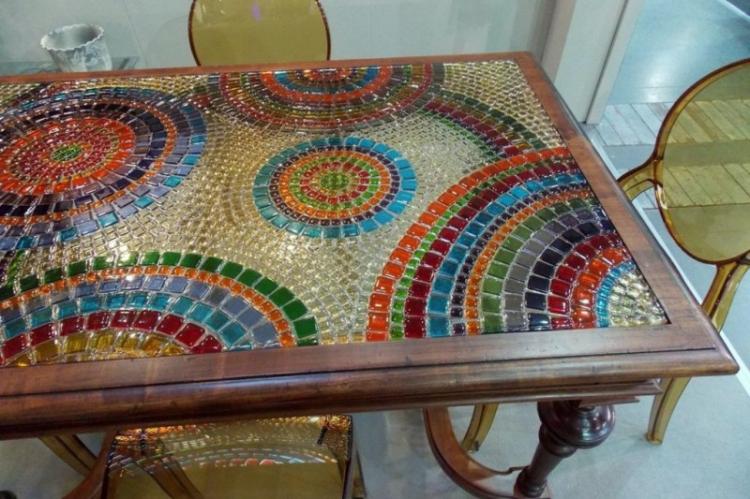
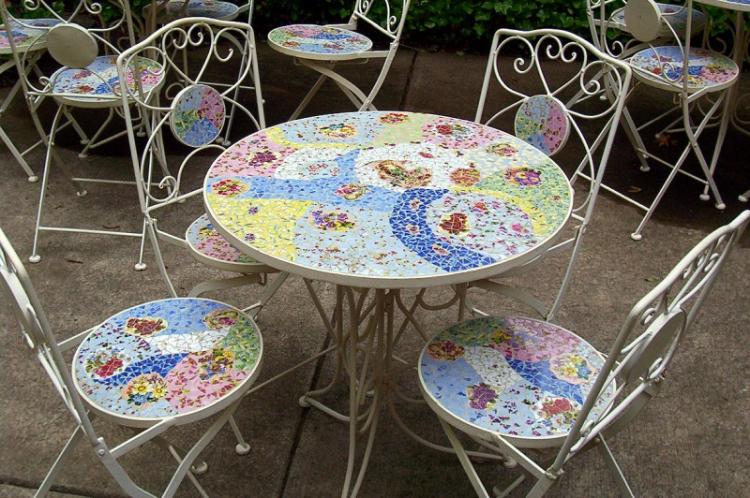
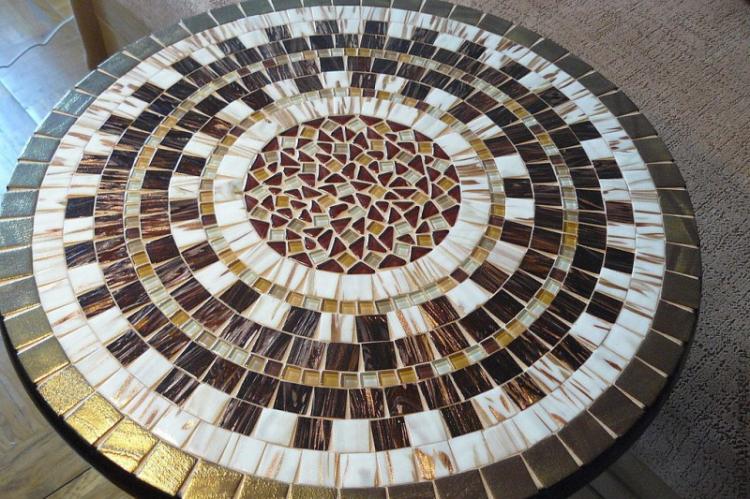
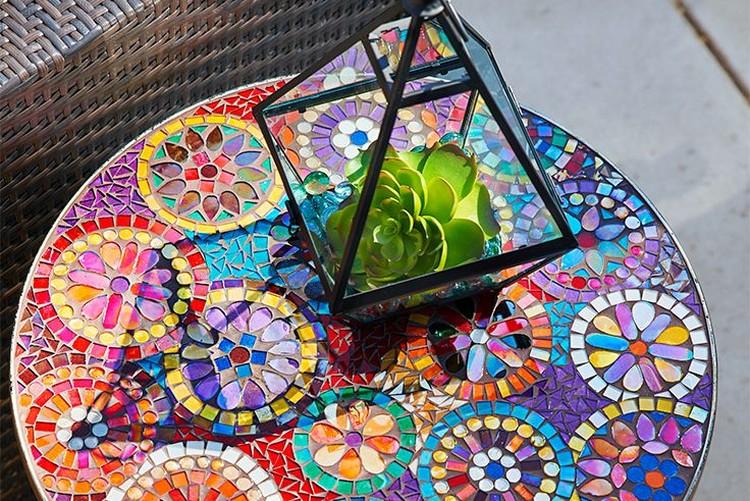
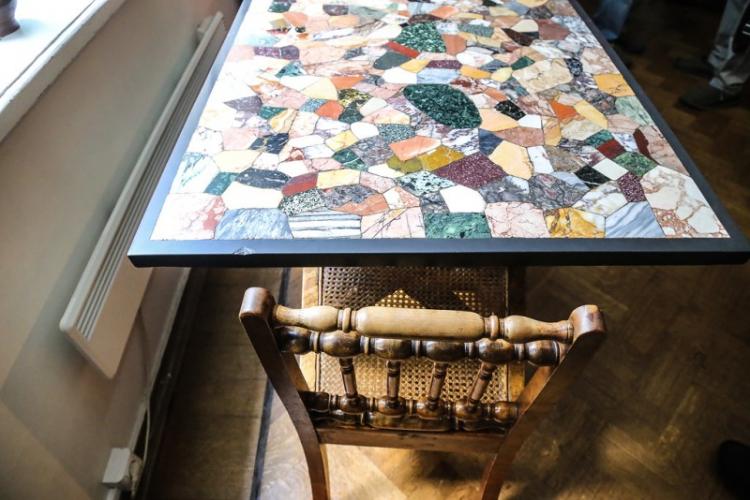
Decorating an old table with mosaics is not only a great way to make a tabletop incredibly beautiful and original with your own hands, but also a rather fascinating process to which you can attract a child.
Mosaic elements can be bought at a store or made from scrap materials, for example, a broken mirror or tile. Draw a sketch of the drawing on the countertop, take the glue in your hands and start creating your masterpiece!
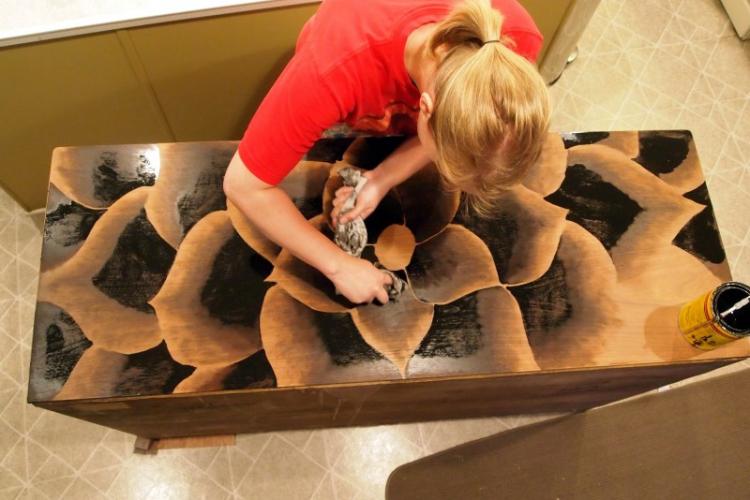
13. Stain
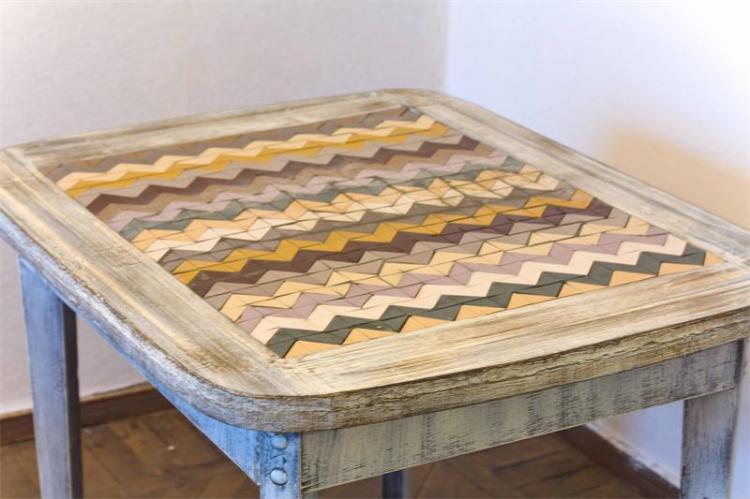
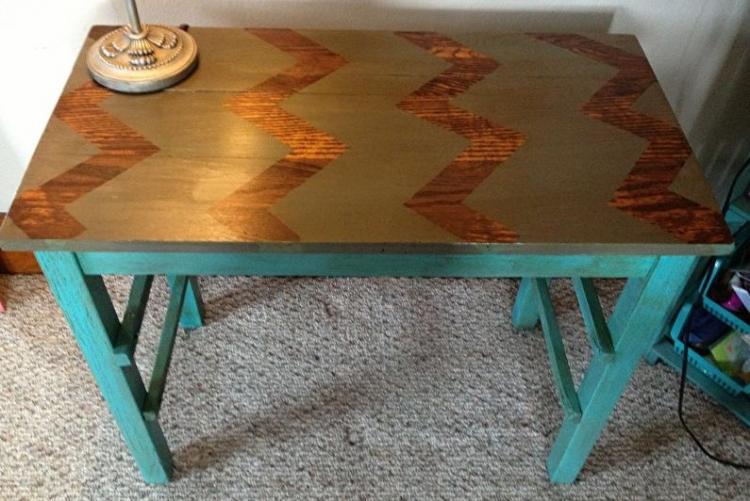
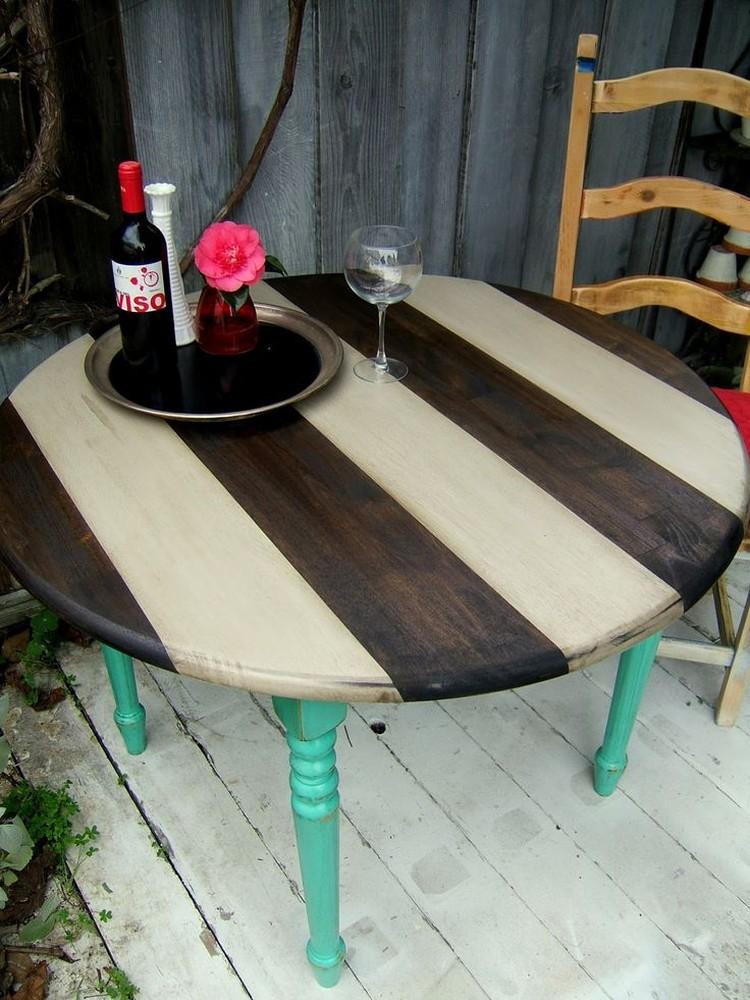
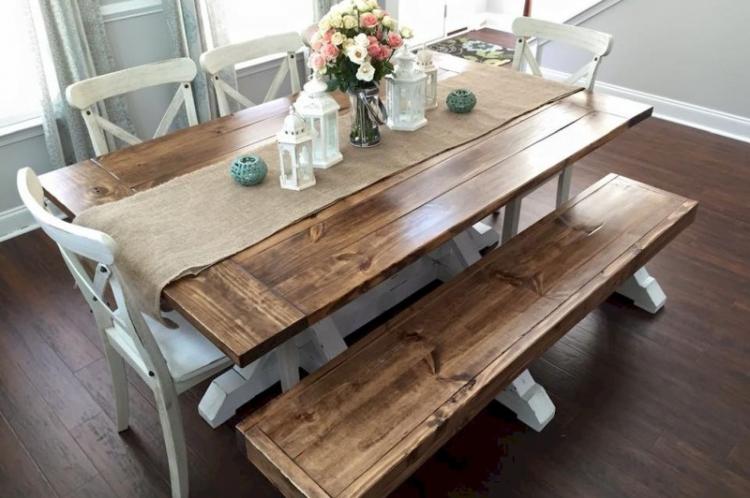
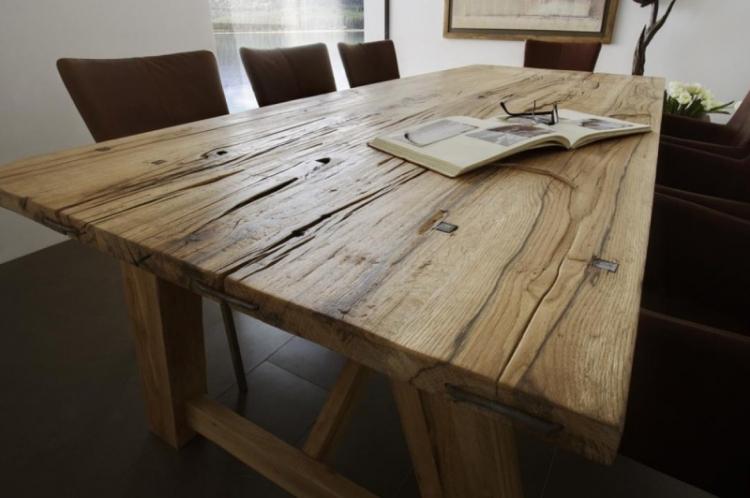
A wooden table can also be successfully decorated with stains. Using this tinting liquid, you can give the wood a new rich shade. It is noteworthy that after processing the wood grain is perfectly preserved. In addition, the tabletop will be protected from moisture and ultraviolet radiation.
The stain should be applied parallel to the grain. At the final stage, the surface must be opened with several layers of varnish.
14. Multi-colored tape
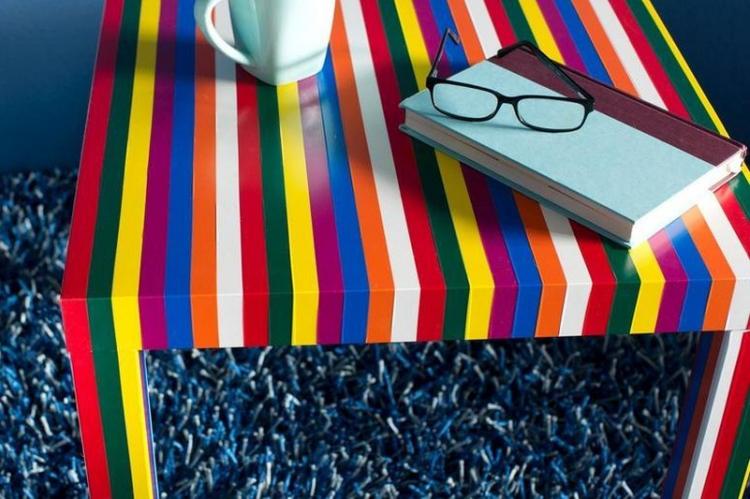
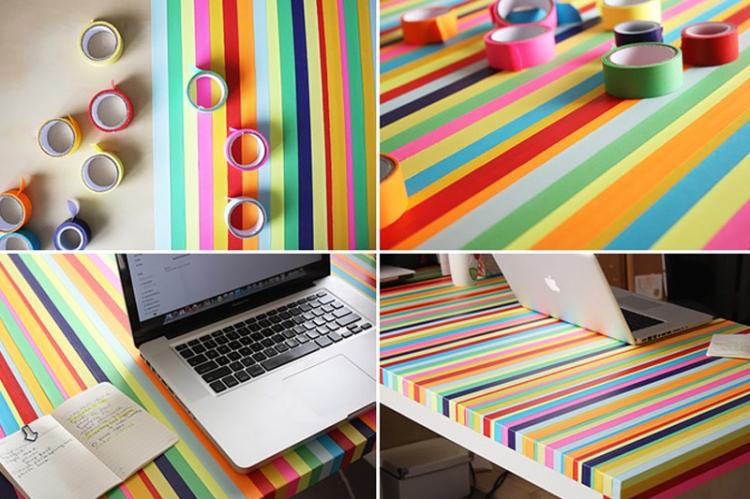
A funny little table can turn out if you decorate it with decorative tape of different colors. The striped "little thing" will instantly turn into an accent spot against the background of any interior.
The tape can be applied to any surface. The metal countertop needs to be cleaned thoroughly. If there are small areas of rust, try to remove them with vinegar or a special product - moisten the surface, and then scrape it off. It is also advisable to degrease the canvas with an alcohol solution. The wood countertop needs to be sanded well.
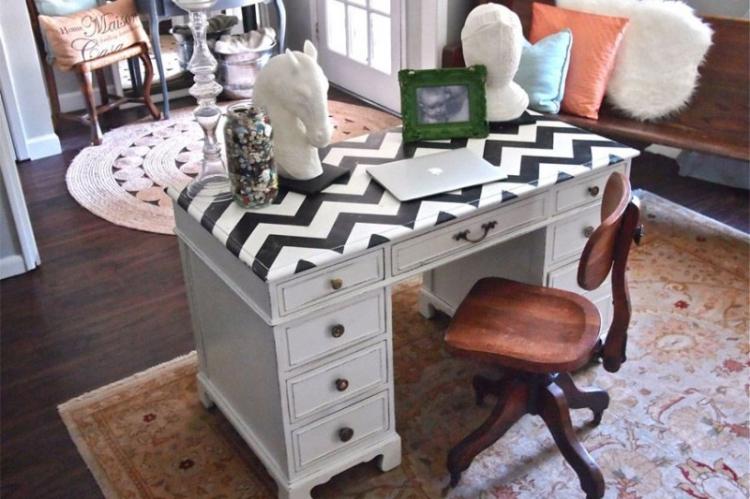
Tapes of multi-colored adhesive tape can completely glue over the surface of the table. But if you avoid excessive variegation, then initially paint the table in white, black or any other color scheme, and then make a drawing with a ribbon of one contrasting color.
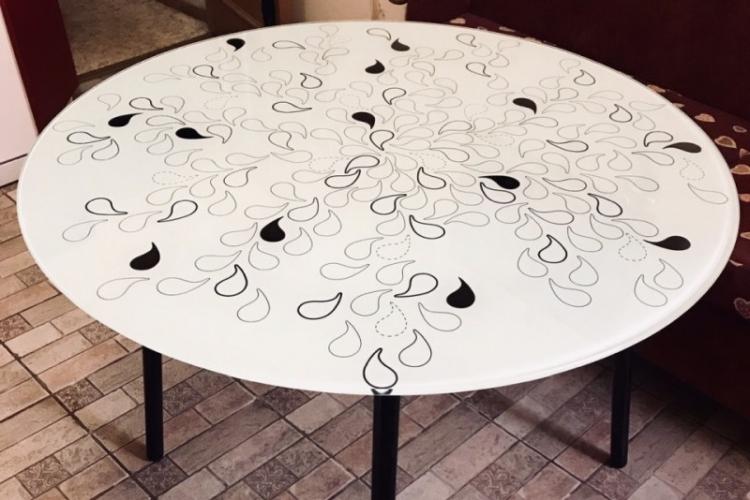
DIY old table decor - photos and ideas
Our photo gallery also contains many successful examples of decoration. Take any of them as a basis and, with a little imagination, turn your old table into a unique piece of furniture!
