
Florists recommend disturbing delicate orchids less often, but they still need to be repotted periodically. Flowers do not go on sale in the most suitable soil and flowerpots. And in the future they grow and require expansion, because if the roots are constantly crowded, you can forget about flowering. We will tell you how to properly transplant an orchid at home and not injure it in the process!
Transfer after purchase
In stores, orchids are most often sold in a special transport soil, but it is not suitable for permanent use. Therefore, the flower will definitely need to be transplanted, and the sooner the better. But first, keep it in quarantine for at least 5-7 days without watering and feeding in order to identify possible diseases and pests.

Planned orchid transplant
Normally, indoor orchids are transplanted as they grow out of the flowerpot. On average, this is once every 1-2 years, when the root system clearly ceases to fit. A planned transplant is carried out in early spring or a couple of weeks after the orchid has completely bloomed.
It is imperative to transplant the plant at the first signs of decay of the root or neck. If there is moss or other moisture-absorbing components in the flowerpot, it must be monitored especially carefully. It is recommended to grow such orchids only in transparent pots so that you can see how the soil dries.

Ground requirements
Garden soil is not suitable for an orchid - it is too heavy and the roots will quickly rot. You need a special substrate made from pieces of oak, aspen or pine bark. You can use fern roots, charcoal, moss, cork or foam chips, pieces of chalk, granular clay, or perlite. If you are preparing the mixture yourself, be sure to first boil the bark twice to destroy bacteria, fungus and pests.

How to grow an avocado from a seed at home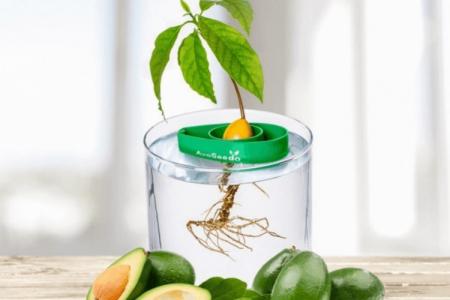
Pot selection
Orchids need constant air circulation, and some varieties can even be grown without pots in special blocks. Baskets, wicker flowerpots, wooden crates with slots are great. A convenient option is a transparent plastic flowerpot with holes on all sides to monitor the condition of the roots and soil.
And to make drainage holes in a plastic pot, use a soldering iron or a hot nail. When replanting any new pot, fill it by a third with foam or fine gravel. In the future, when watering, always wait until the orchid is completely drained.

We take out the orchid from the pot
Your main task is not to damage the delicate root system, closely intertwined in a com. If you cannot remove it carefully, it is better to break or break the entire flowerpot. In no case try to get the orchid by force, otherwise it will be injured and later die.
To make the roots slip out of the flowerpot easier, soak the orchid briefly in warm water. They become saturated with moisture and become more resilient and elastic, so there is less risk of tearing or damage. Gently shake all contents and soil onto a clean surface.

Geranium: home care, reproduction and transplant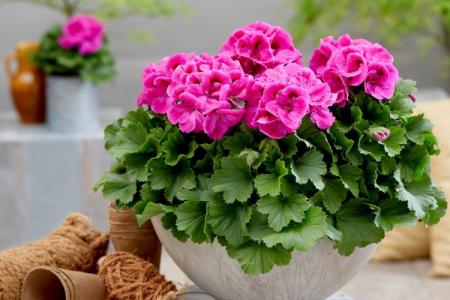
Root system preparation
Before replanting an orchid, it is imperative to rinse the entire root system in warm water to get rid of adhering soil residues. Use a sharp knife or garden shears to cut off any rotten, dry and damaged fragments. Sprinkle the cuts with crumbled charcoal or treat with special floral antiseptics. Dry the plant for 10-20 minutes on a paper towel.

Transplanting an orchid into a new pot
Place the roots in the new pot vertically and carefully fill in the soil, filling all the cavities. If the old substrate is definitely healthy, in good condition, without signs of decay, fungus or plaque, you can use it.But it is better, just in case, to replace it with a new one, gently tapping the pot for sealing.

Garter
For the first time, before rooting and adaptation, it is better to tie the orchid. It is important that it fits snugly in the pot and does not wobble from side to side. When installing the support, try not to damage the roots, because all cracks and injuries are potential pockets of decay.

How to care for an orchid at home
Orchid care after transplant
Fill the orchid with warm water immediately after transplanting, move it to a bright, warm place and do not touch it for another 2 weeks. Do not place such a flowerpot on a cold surface, near an open window or in direct sunlight. Try not to rotate, rearrange or disturb the flower at all. After 2 weeks, you can apply a little fertilizer, water the plant and switch to the usual care regimen.
