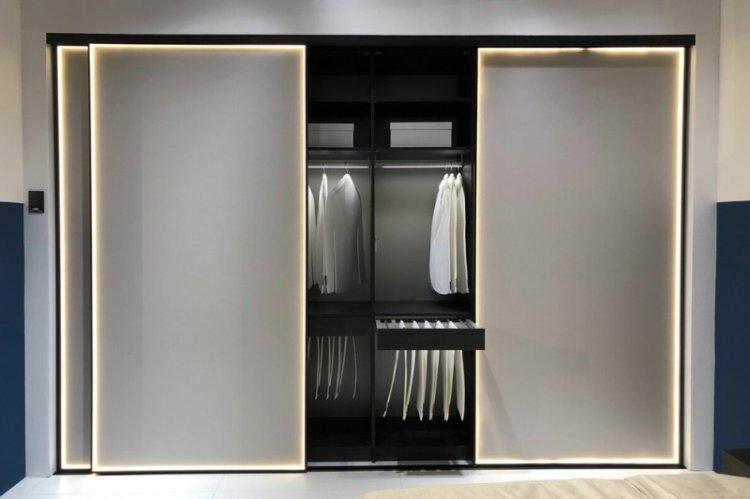
How to save space in an apartment and get rid of bulky cabinets is a question that worries not only small-sized owners. Massive dressers and pencil cases make the interior heavier, occupy the aisles and dust constantly accumulates on them. But there is a very simple, practical and unsophisticated way out - a built-in wardrobe. And we will tell you how to make it yourself!
Materials (edit)
We will not take a long time to disassemble the difference between wardrobes and what other types of wardrobes they are - this is understandable. Let's get down to business - the durability and reliability of the structure depends on the selected material. And there are a few basic options here.
Built-in wardrobe made of chipboard
Chipboards are the most affordable, simple and common option for making furniture. They differ in thickness, texture and colors, can be laminated or not. The veneer layer is a thin coating made of natural wood, thanks to which the chipboard looks expensive and noble.
For sliding wardrobes, it is best suited chipboard or veneered plates. But fiberboard can only be used for individual internal elements - they are too sensitive to moisture. Do not forget that the edges must be sealed with a special tape so that they do not crumble, swell or crack.
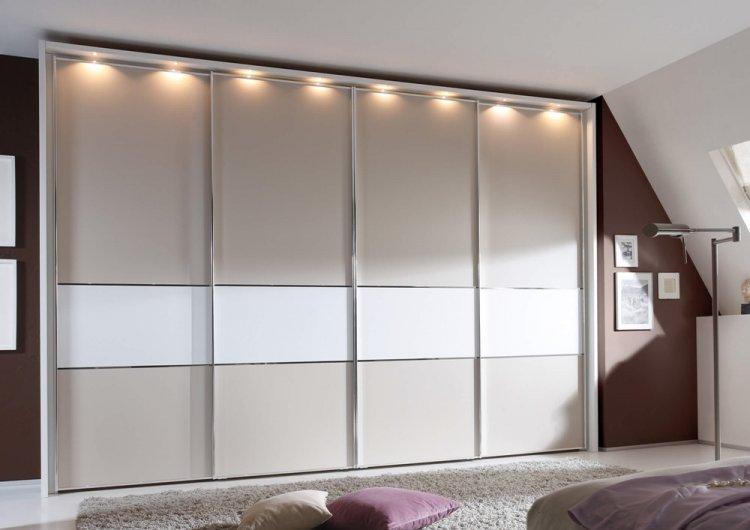
Built-in wardrobe made of MDF
MDF is more expensive than chipboard, but this material is more environmentally friendly, because formaldehyde is not used as a binder. The second plus is high resistance to moisture: it is not for nothing that even kitchen sets are made from MDF. These slabs can be bent and shaped, so they are suitable for more complex designs.
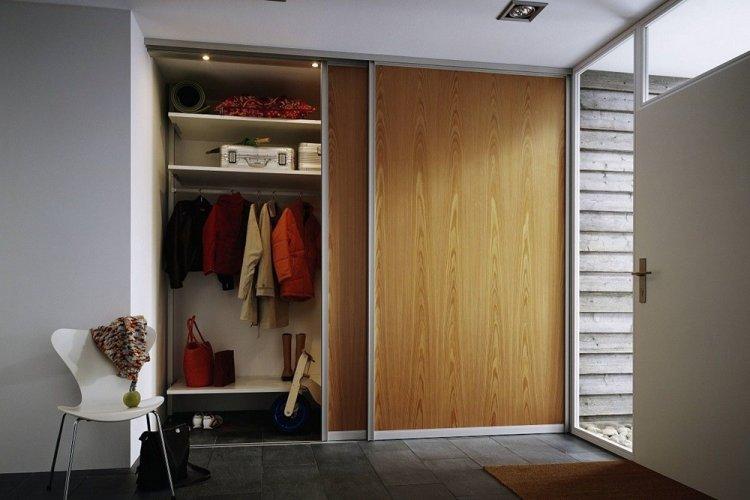
Built-in wardrobe made of solid wood
Wood is the most natural, noble and environmentally friendly material, but solid wood is also worth it. There are relatively inexpensive species, like pine, but here you need to take into account the strength characteristics. Most often, wood is not the best option for a built-in wardrobe, because all its beauty is hidden in a niche and behind doors.

Built-in plasterboard wardrobe
Usually, drywall is not used for the manufacture of furniture, but sliding wardrobes built into niches or into a wall structure are an exception. In addition to the sheets, you will need beams or metal profiles for the frame, which you will then sheathe. This is a budget and convenient option for dry areas like a bedroom or living room.
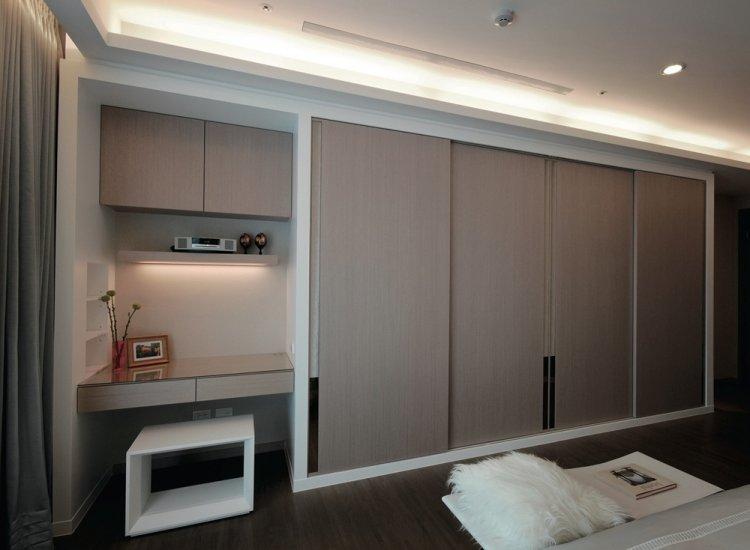
Sliding door materials
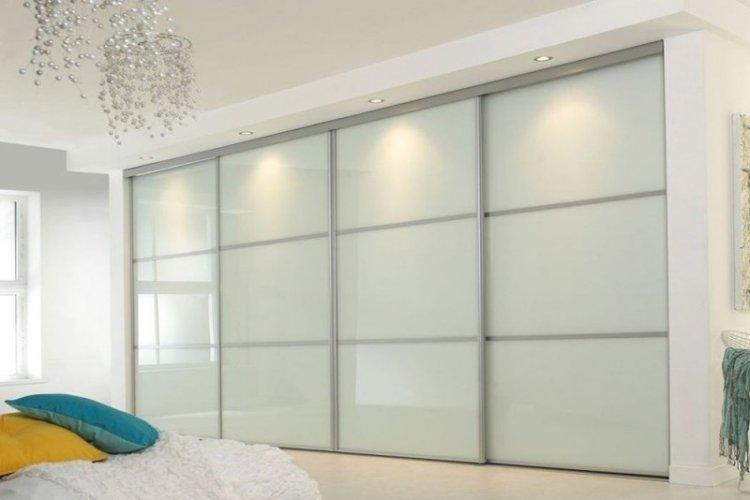
For sliding doors, mirrors and glass are most often used, which visually enlarge the room and lighten the structure. Practical and modern acrylic looks spectacular, which is almost impossible to damage or break. Heavy natural wood is almost never used, but inexpensive chipboard, light and elegant bamboo or graceful rattan are quite.
Crafting tools
In addition to materials, take care of tools, fasteners and other consumables in advance. You will need door rails, self-tapping screws with dowels, mounting angles, posts, friezes, rod holders. The main tools are a jigsaw, a screwdriver, a screwdriver, a drill, a hammer, a tape measure, and a level.

Filling the built-in wardrobe
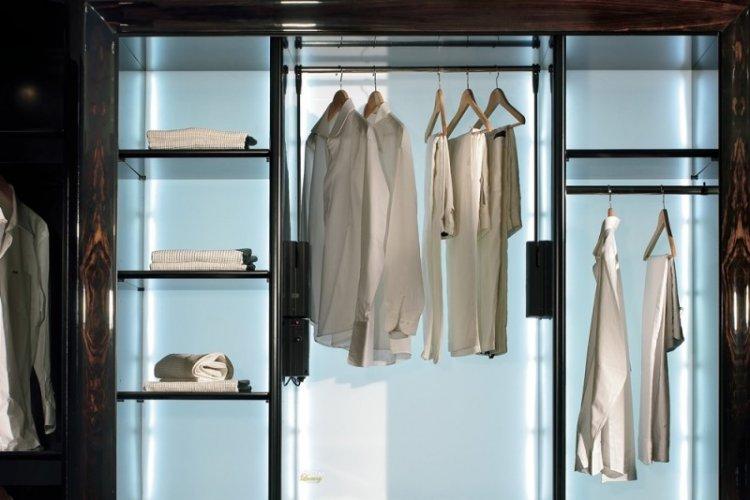
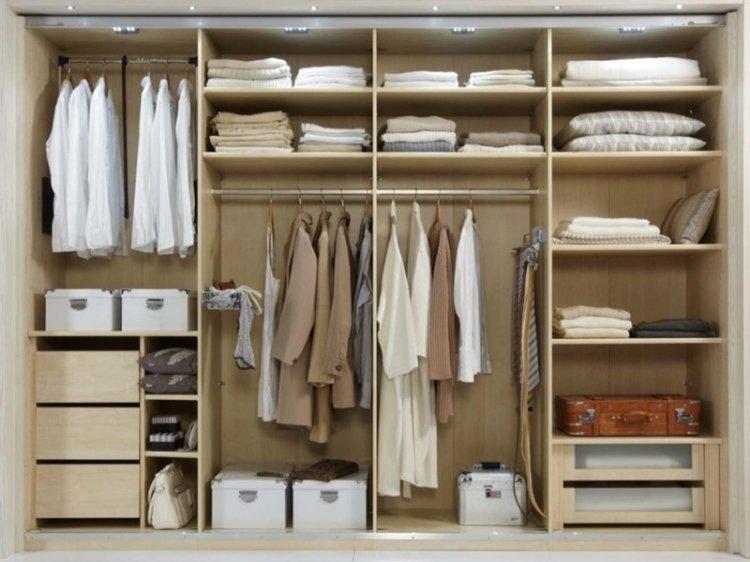
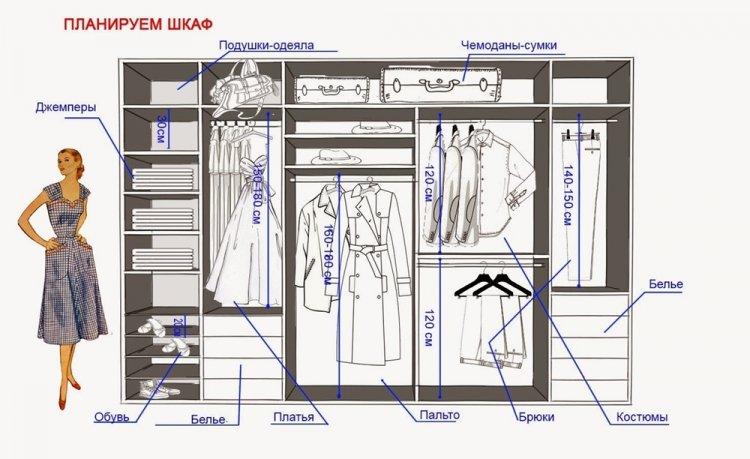
Before starting work, think about how your closet will look from the inside - you may need to adjust the overall dimensions. The height of the barbell section should be such that even dresses or outerwear can fit there. It is convenient to leave wide sections for shoes and bed linen at the bottom, and an impromptu mezzanine for seasonal things on top.
Consider whether you need a section for a vacuum cleaner or ironing board, separate sections for hats and accessories, small drawers or large pull-out units. It may be better to leave the large sections and separate them with inlay organizers.

How to take measurements of the built-in wardrobe?
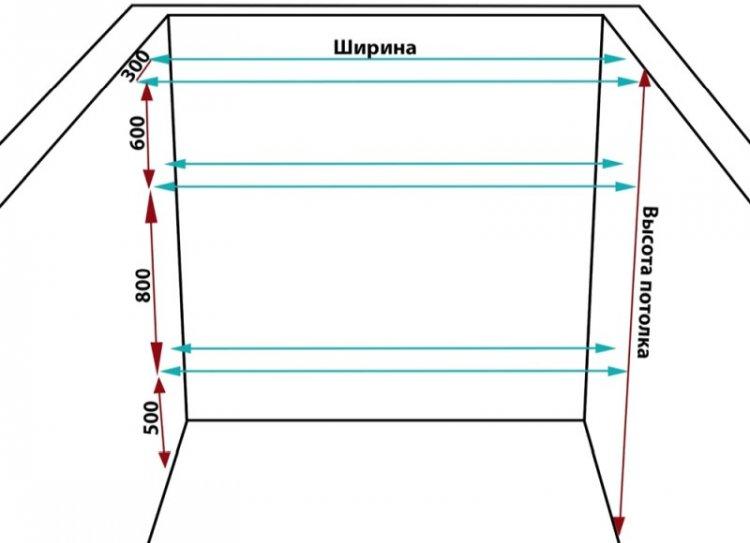
A built-in wardrobe usually fits into an existing niche or "stretches" over the entire wall. Therefore, the accuracy of all dimensions is especially important here so that no gaps remain anywhere. Take all measurements at three different points - this compensates for possible unevenness of the niche.
Measure the back and front at the top, bottom, and middle, and measure the height from all four corners. After all, otherwise the "backdrop" may simply not enter the niche, and a too small shelf will not hold and will fail. In practice, it may well turn out that instead of the expected rectangle, you need a trapezoid or parallelogram.
Do not forget to include in all calculations the thickness of the material and edges, as well as the compartment mechanism itself with guides, which will take about 10 cm more.It is better to study various drawings and instructions for assembling ready-made cabinets on the Internet in advance in order to visualize the design in practice.
If you do not have rich drawing and design experience, give up complex elements. Radial designs, curved lines, complex geometric shapes require professionalism. But even the simplest rectangular wardrobe is quite beautiful and functional.

Assembling the built-in wardrobe
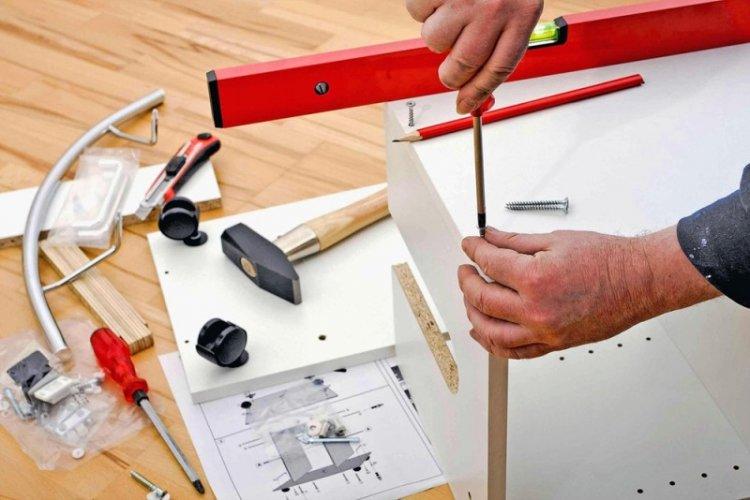
Conventional wardrobes are a separate mobile piece of furniture that you can put anywhere. Built-in ones usually do not have their own frame - for this, niche walls, floor and ceiling are used. All that remains is to install the panel to which the door guides are attached.
If you are lucky enough to work with a perfectly flat niche, you can simply screw the shelves into it and insert the drawers - the cabinet is ready. But if the walls are uneven, then it is better to compensate for all slopes and defects in advance. Even a slight tilt will prevent the flaps from moving.
The main thing is to perfectly level the frame for the front end. All slots are closed with laminate or MDF overlays, or with special decorative frieze strips. The same friezes are cut out under the guides for the compartment mechanism. They are attached to mounting glue or even double-sided tape.
Shelf fixing
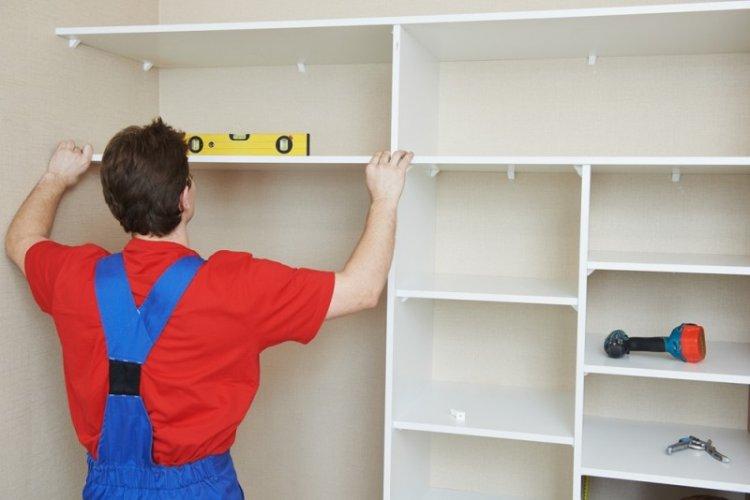
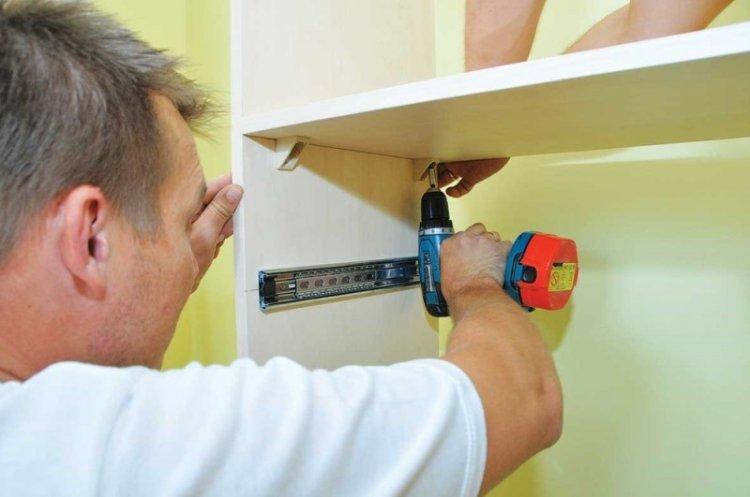
The installation of the main internal elements is done even before the door is installed to make sure that everything fits and matches everywhere. First, mark the inside of the cabinet right along the walls and do not forget about the thickness of the material. Self-tapping screws, brackets and furniture corners are suitable for fastening.
For cruciform shelves and sectional blocks, you need special dowels and glue. Additionally fix wide shelves from 80 cm in the middle so that they do not sag or bend. In corner cabinets, vertical corner racks are good - this is the most efficient use of space.
Door installation
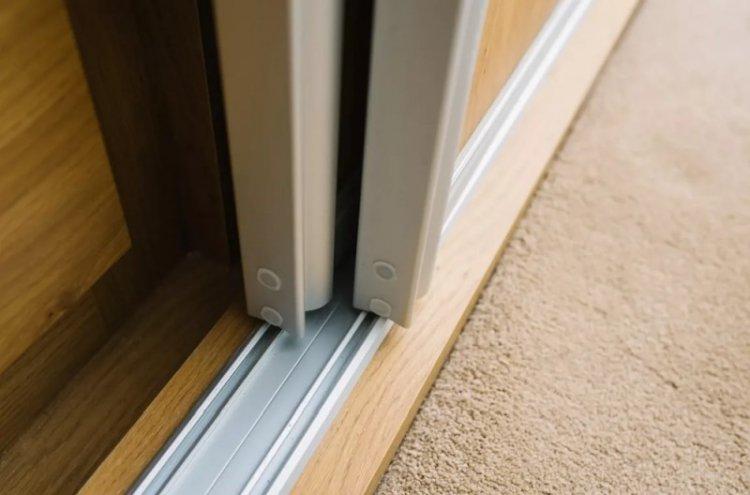
In built-in wardrobes, internal rails are usually used. But at the same time, the rollers can be from the bottom (persistent) or from the top (suspended). The lower ones are quieter and more reliable, but more often require maintenance or repair. The upper ones are not so practical, but they are not clogged with dust and dirt.
If you have doors made of chipboard or wood, the rollers can be attached directly to them. But mirrors, acrylic or plastic are first taken into a special frame. Combined facades of different materials are often used.

For installation, 2-3 parallel guides are enough so that several doors do not collide, but overlap each other. To do this, they are installed in a staggered manner, and when closed, an overlap of about 20-30 mm remains. Avoid different sized doors, otherwise you will be left with hard-to-reach areas that no one will eventually use.
External installation of rails is also suitable for built-in wardrobes. It is easier and faster, because you mount a separate sliding partition and there is no strict reference to the size of the niche. But such doors take up space on the outside, especially if you want to put them in a separate box, which still needs to be assembled.
Painting the wardrobe
If you plan to paint doors and shelves, it is best to do this before final assembly. So all the details will dry out, there will be no traces on the surface and you will not inadvertently stain the wall. Be sure to choose washable paints and varnishes - they are much more unpretentious to care for. Do not forget to varnish the inside of the closet so that it does not stain your clothes.
Lighting of the built-in wardrobe
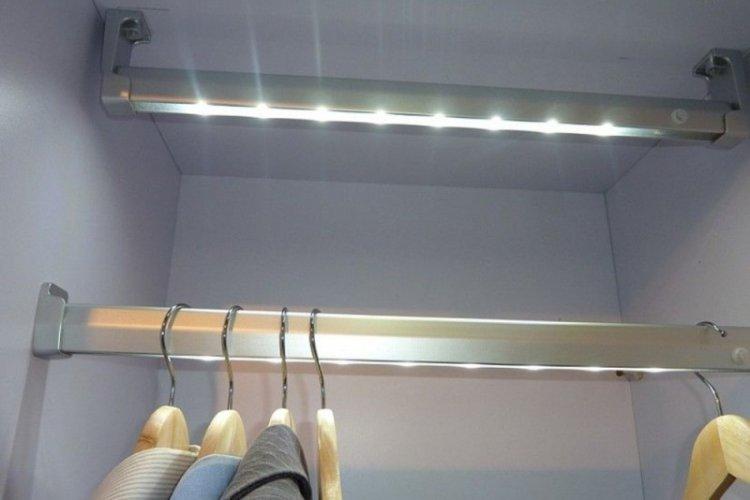
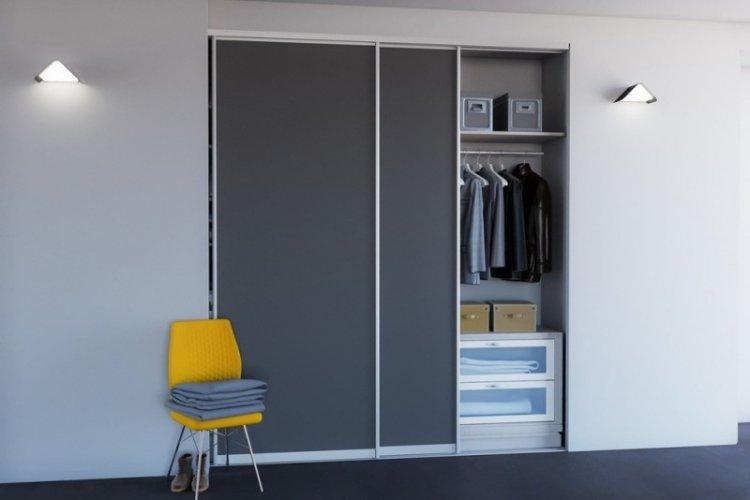
In large and roomy cabinets, lighting is made to make it easier to look for things even in the farthest corners. Moreover, if you have a built-in wardrobe in a niche, it is even easier to stretch the lamps. Be sure to take the LEDs - they do not heat up and do not burn things. Most often, in large sections, built-in or overhead flat lamps are used, and in smaller sections, an LED strip around the perimeter.
