Ribbon embroidery is a beautiful hobby that will allow you to create real works of art. Unlike threads, ribbons are very voluminous and textured, of different widths and from different materials. To start creating your first paintings, you just need to master a few basic stitches. And we will help you with this!
1. Cornflower from satin ribbons
You will need a 2.5 cm wide brown ribbon, a wide cornflower blue ribbon, and a 0.6 cm thin green ribbon for the stem. It is most convenient to start with the bump under the petals. It will be voluminous and will hide the outputs of all other tapes.
To do this, remove the tape from the inside out onto the face and twist it a little in the process. Make three free loops on the needle on top, in the afternoon the needle half a centimeter to the side and pull it - you get a French knot. Bring the needle out under it and close it with a ribbon with a regular tight stitch.
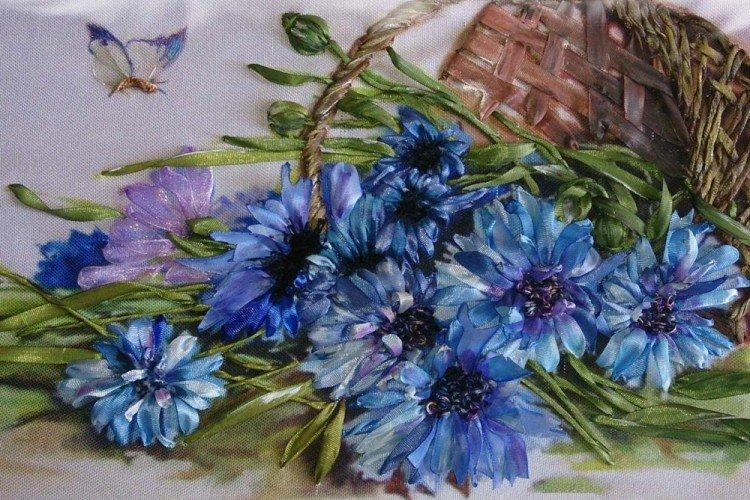
Cornflower petals have split edges, so make such blanks in advance. Cut the tape into 7 cm pieces, form the corners with sharp scissors and gently burn the protruding threads with a lighter. Insert the petals from the front to the wrong side as tightly as possible to the brown base and to each other.
To make a stem, pull a green ribbon from the inside out onto your face and roll it into a tube. Bring it close to the cornflower and bring it back, gently pulling it up. Make the leaves in one large stitch, and so that they do not shine so much, turn the tape over to the wrong side.
2. Bulky rose
To embroider a rose, you will need a red ribbon 2.5 cm wide, matching threads and a 6.5 cm round stencil.To make the middle, fold a piece of ribbon and roll it up in a spiral, twisting it with each turn. Sew the bud well with threads in color all over the base so that it does not come apart.
To secure the tape in the fabric without long tails, burn the end with a lighter and bend it slightly with a boat. Bring it from the inside out to the face a little to the side from the center of the circle and make four large petals with straight stitches. Shape each one by hand in the process so that they are narrower at the bottom and wider at the top.
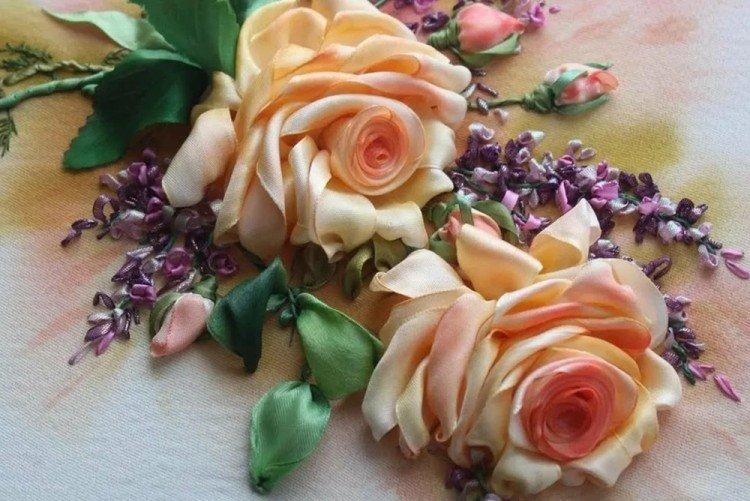
Place the next petals on the previous ones in a checkerboard pattern for volume. Sew the middle with the same thread, bring it to the wrong side and cut it off - it is no longer needed. Take a new ribbon and form large petals in an arc at a distance of about a centimeter.
Twist and spread each new petal in the process with your hands. Lay them cross on cross, and in the middle make one cross row. From it, make two large petals at a distance of a centimeter - right and left. With small stitches-loops in an arc, make a large frame of the bottom row so that the rose is more voluminous.
3. Ribbon lavender
To embroider simple lavender twigs, you will need two ribbons 0.6 cm wide - purple and green. On the fabric, mark the composition, length and location of the stems with a pencil. Immediately embroider them with a ribbon twisted into a tube - use a needle forward stitch or a regular stem stitch.
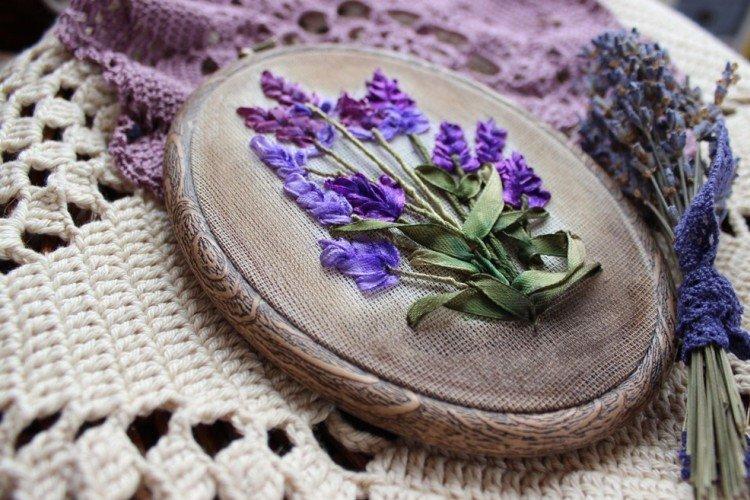
Take a purple ribbon, pin it in a needle and sew the petals with a straight stitch into the ribbon. To make the flowers neat - do not drag, unfold them in the process and neck in pairs, steps up. Make the last pair of petals a little smaller and fasten on top with one long top. Make the leaves in the same seam, and then decorate the bouquet with a bow beautifully.
4. Dahlia embroidery
First, you need to draw a wreath on the fabric, marking the location of the flowers and large petals. You can translate any finished picture using special paper. In addition to the ribbon, take some wool for felting or any other filler for volumetric centers without knots.
Secure the center to the fabric with a needle or sew to prevent fidgeting.With a narrow thin tape of 0.3 cm, wrap the entire substrate in a circle until it is completely hidden. Do not tighten too much to maintain volume and airiness. In the end, you can tint the center and petals with watercolors.
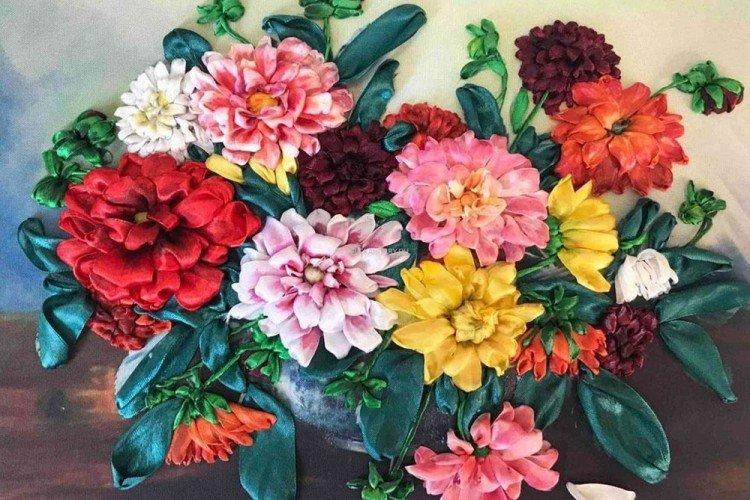
Take a wide ribbon 2.5 cm, fall off the edge, form a boat and lay out the first petal right from this corner. Start with the outer circle and work your way from one to the next. Puncture the same tape right down the center to form a nice pointed corner.
For the second inner row, pull the ribbon between the two petals, bring it to the middle and pull it inside out. These petals should be quite voluminous - almost hanging in loops. Tighten the ends with a puncture before sewing to the fabric. Use the same hanging stitches and puncture stitches to make the leaves around.
5. Forget-me-nots on the decal
For the petals, take thin ribbons of 0.4 cm in several shades of blue or one painted with a gradient. For the stems - the same green 0.6 cm, and for the leaves - green, but 1.3 cm. For the middle and small buds, floss threads or very thin ribbon-cords are useful.
To get started, you need to assemble the blank using decals or simply by hand drawing. Then lay the twigs with a stalked seam using a floss in one thread. The smallest leaves, buds and voluminous centers with embroidered satin stitches in a couple of stitches.
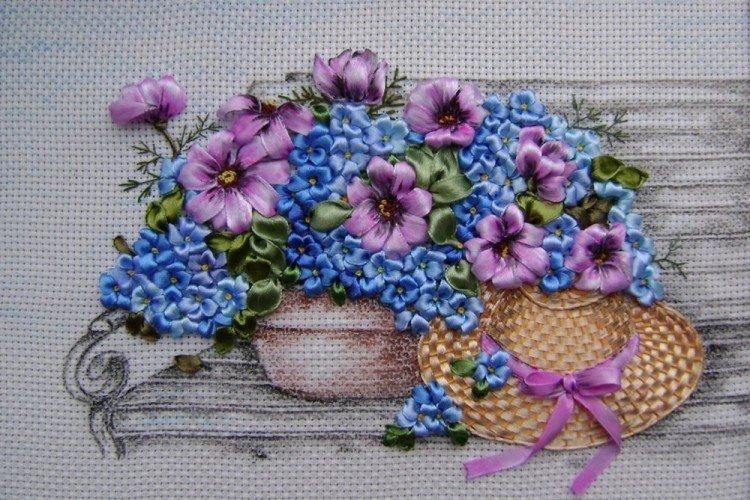
Take the blue ribbon, pin it into a needle and gently drop the end so that it stays on the wrong side. Embroider small petals with the simplest straight stitch - this is a very good choice for lush bouquets. In each flower, embroider the middle with a yellow thread of floss and at the same time close the puncture sites.
To make beautiful voluminous leaves, put a green ribbon on the front. Neck them with the same straight stitch with a puncture - thread the needle not immediately into the fabric, but through the same tape. Pierce it not in the center, but a little from the edge - and then the petal will wrap up beautifully. Finish off the remaining flowers that lie on the leaves, small buds and other details.
6. A bouquet of lilacs
If you don't want to mess around with drawings and decals, but want to embroider a real bouquet - here's an option for you! A small pencil sketch of the brush and the basic outlines of the stem with leaves are enough. You will need many shades of the same thin lilac and purple tape, as well as a stem and stem tape.
Tack on both sides of the brown tape for the cutting, bring it to your face and twist it tightly into a tube. Arrange the twig according to the pattern and manually give direction. Puncture not into the fabric, but directly into the handle - so it will not move. Make cuttings for leaves with ordinary straight stitches, slightly touching and fixing the main branch.
From a wide green ribbon 2.5 cm, make the leaves with the same stitch with a puncture in the center of the ribbon. To form a sharp corner, pull the tape slowly and carefully on each side in turn. If you don't want a too shiny plate, embroider with the back matte side.
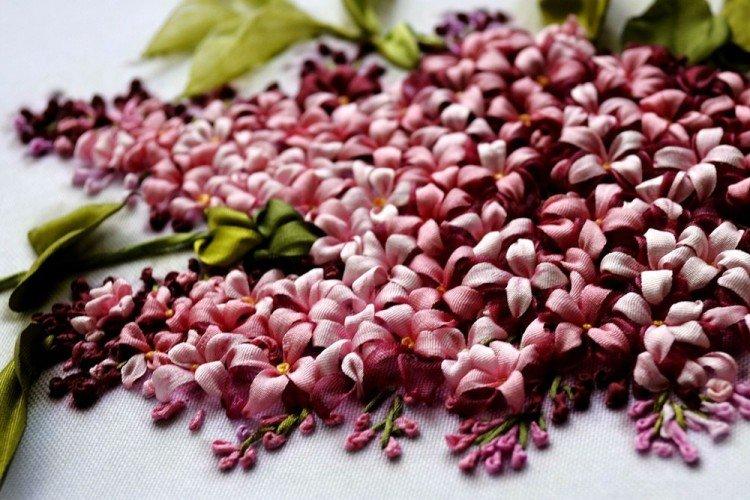
The purple ribbon needs to be made into a French knot for the base first, so leave some space. Each flower will have four or five petals that are half a centimeter long - this is the size of the stitches. To prevent the tape from spinning, hold it with your hand at the base.
One petal of the first flower will be the new petal of the next, so choose the direction in which you are moving in advance. Due to this transition, the embroidery will look more voluminous and neat. Make sure that the lilac brush is dense and there are no gaps on the fabric until you have covered the entire workpiece.
An alternative is to make each lilac flower separately and then sew to the base. To do this, take a small piece of tape 8-10 cm long and fold it in half twice to outline the folds. Next, you need to stitch with a thin thread with a basting stitch with a snake, as in the video, and then tighten it - you get a beautiful terry flower.

